 Best
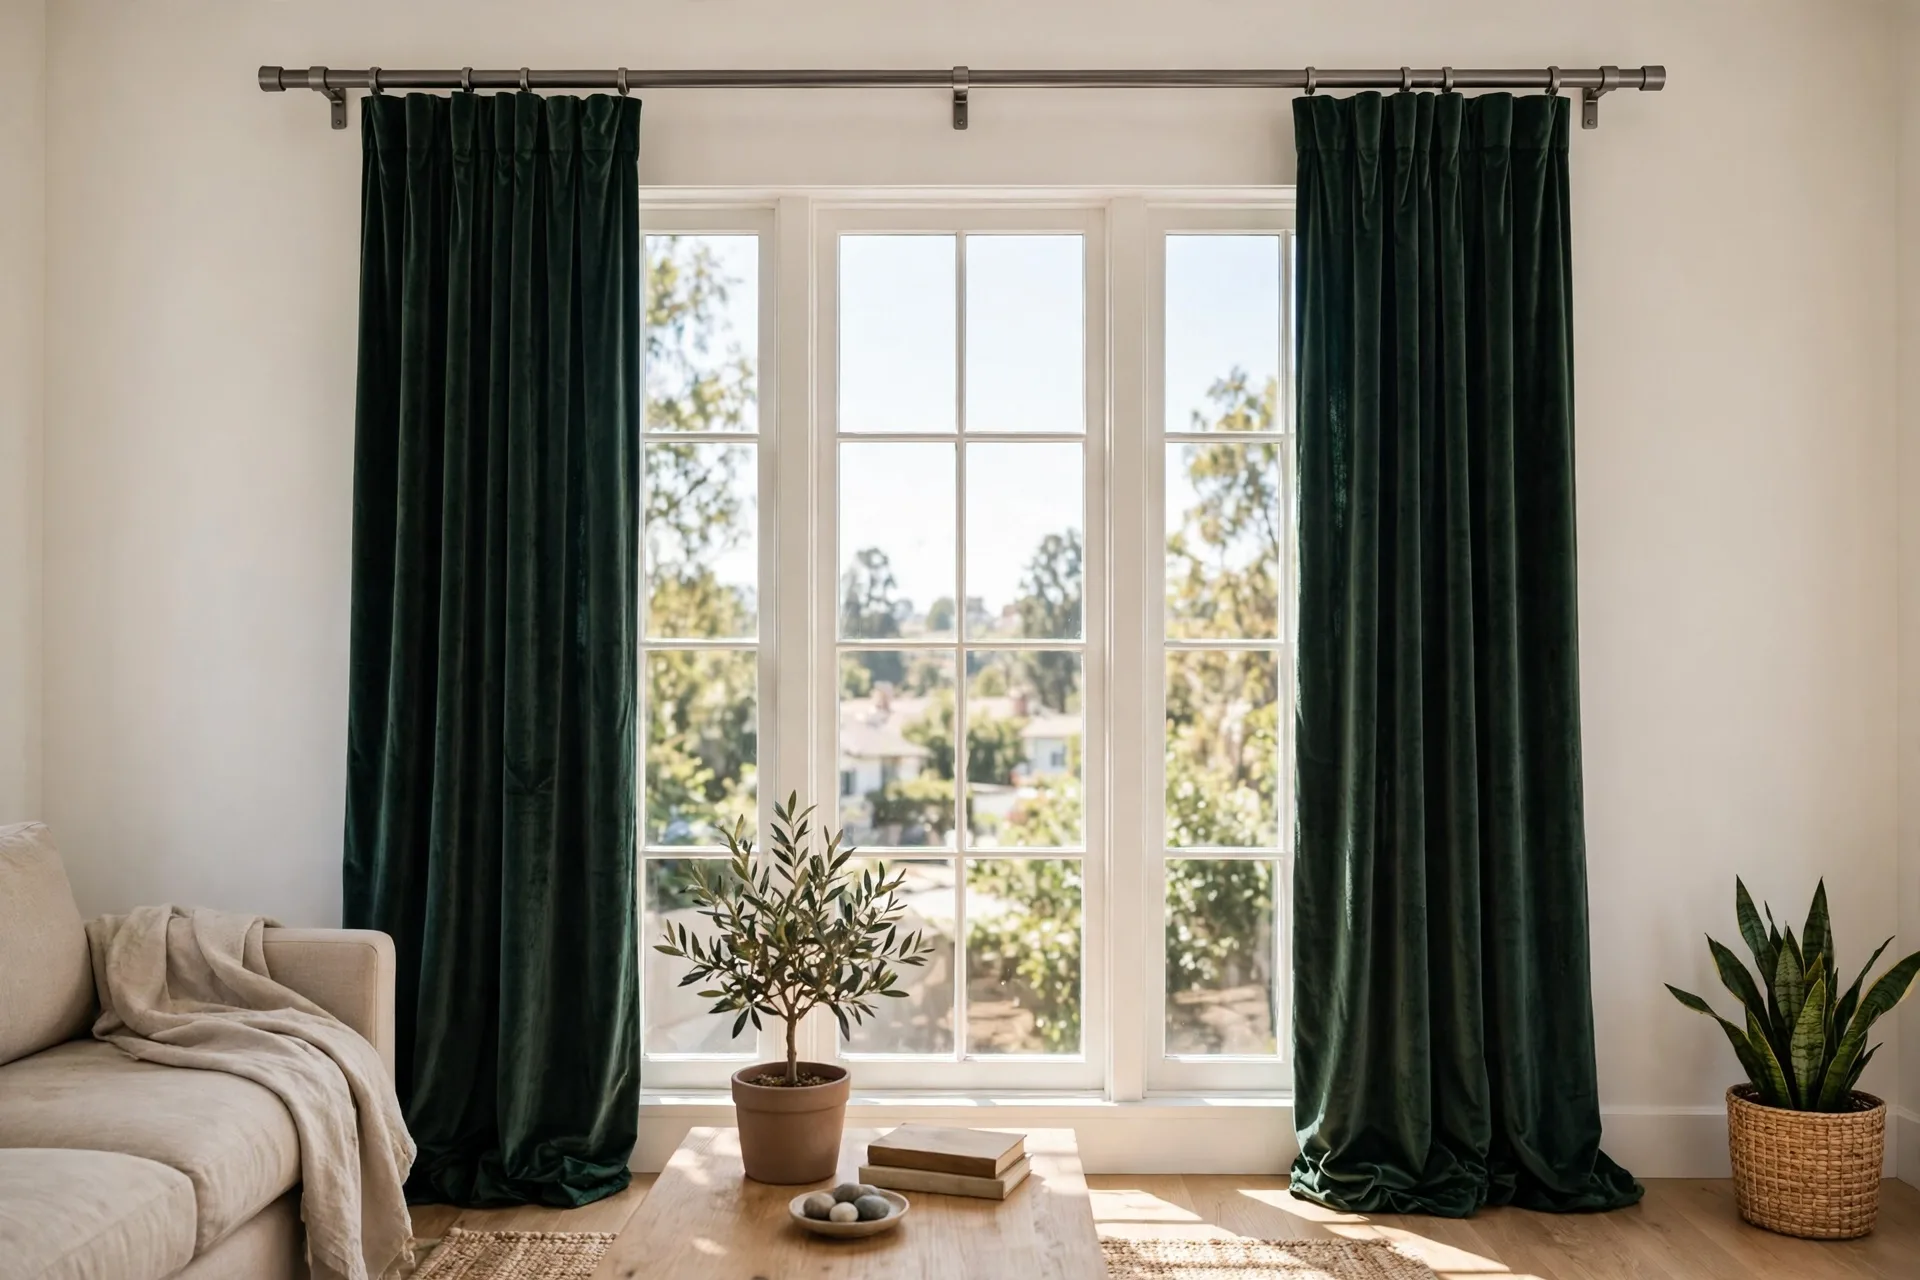
How to Hang Heavy Curtains Without Sagging
Heavy curtains sag when the rod is too thin, the brackets are too few, or the anchors are too weak for the wall. This guide works through the weight first, then the hardware.
Heavy curtains stay level when the hardware is chosen for the real weight, not for the look of the rod. Weigh the curtains and the rod together, pick a rod thick enough for the span, put in enough brackets, and fix every bracket into a stud or a heavy-duty anchor. A rod hung that way does not sag, and a rod hung on light anchors will sag no matter how good it looks on the day it goes up.
A heavy curtain is any panel with enough fabric, lining, or length to strain a standard rod: lined drapes, blackout panels, velvet, and extra-wide or extra-long panels all count. Lined drapes can weigh up to about 15 lbs before the rod is added, and a pair of medium-weight blackout panels can top 10 lbs, so the load is real before the rod, rings, and brackets join it.
Drapes and curtains are not the same thing: drapes are lined, floor-length, and heavier, while thick warm curtains in tapestry, velvet, suede, or tweed sit between standard curtains and drapes, so the weight you plan for depends on which of the three you own.
Tension rods deserve a warning of their own: they lose traction quickly and fall easily even without additional strain, so they are no answer for a heavy panel.
Weigh the job before you buy the hardware
The first step is the scale, not the rod or the drill. Weigh both curtain panels together on a bathroom scale, then add the weight of the rod, the rings, and the brackets, because the wall carries all of it, not just the fabric. A pair of lined drapes at 15 lbs on a rod that weighs 5 lbs is a 20 lb job, and hardware rated for the fabric alone is already undersized.
Turn the total into a per-foot figure, because that is how rod ratings work.
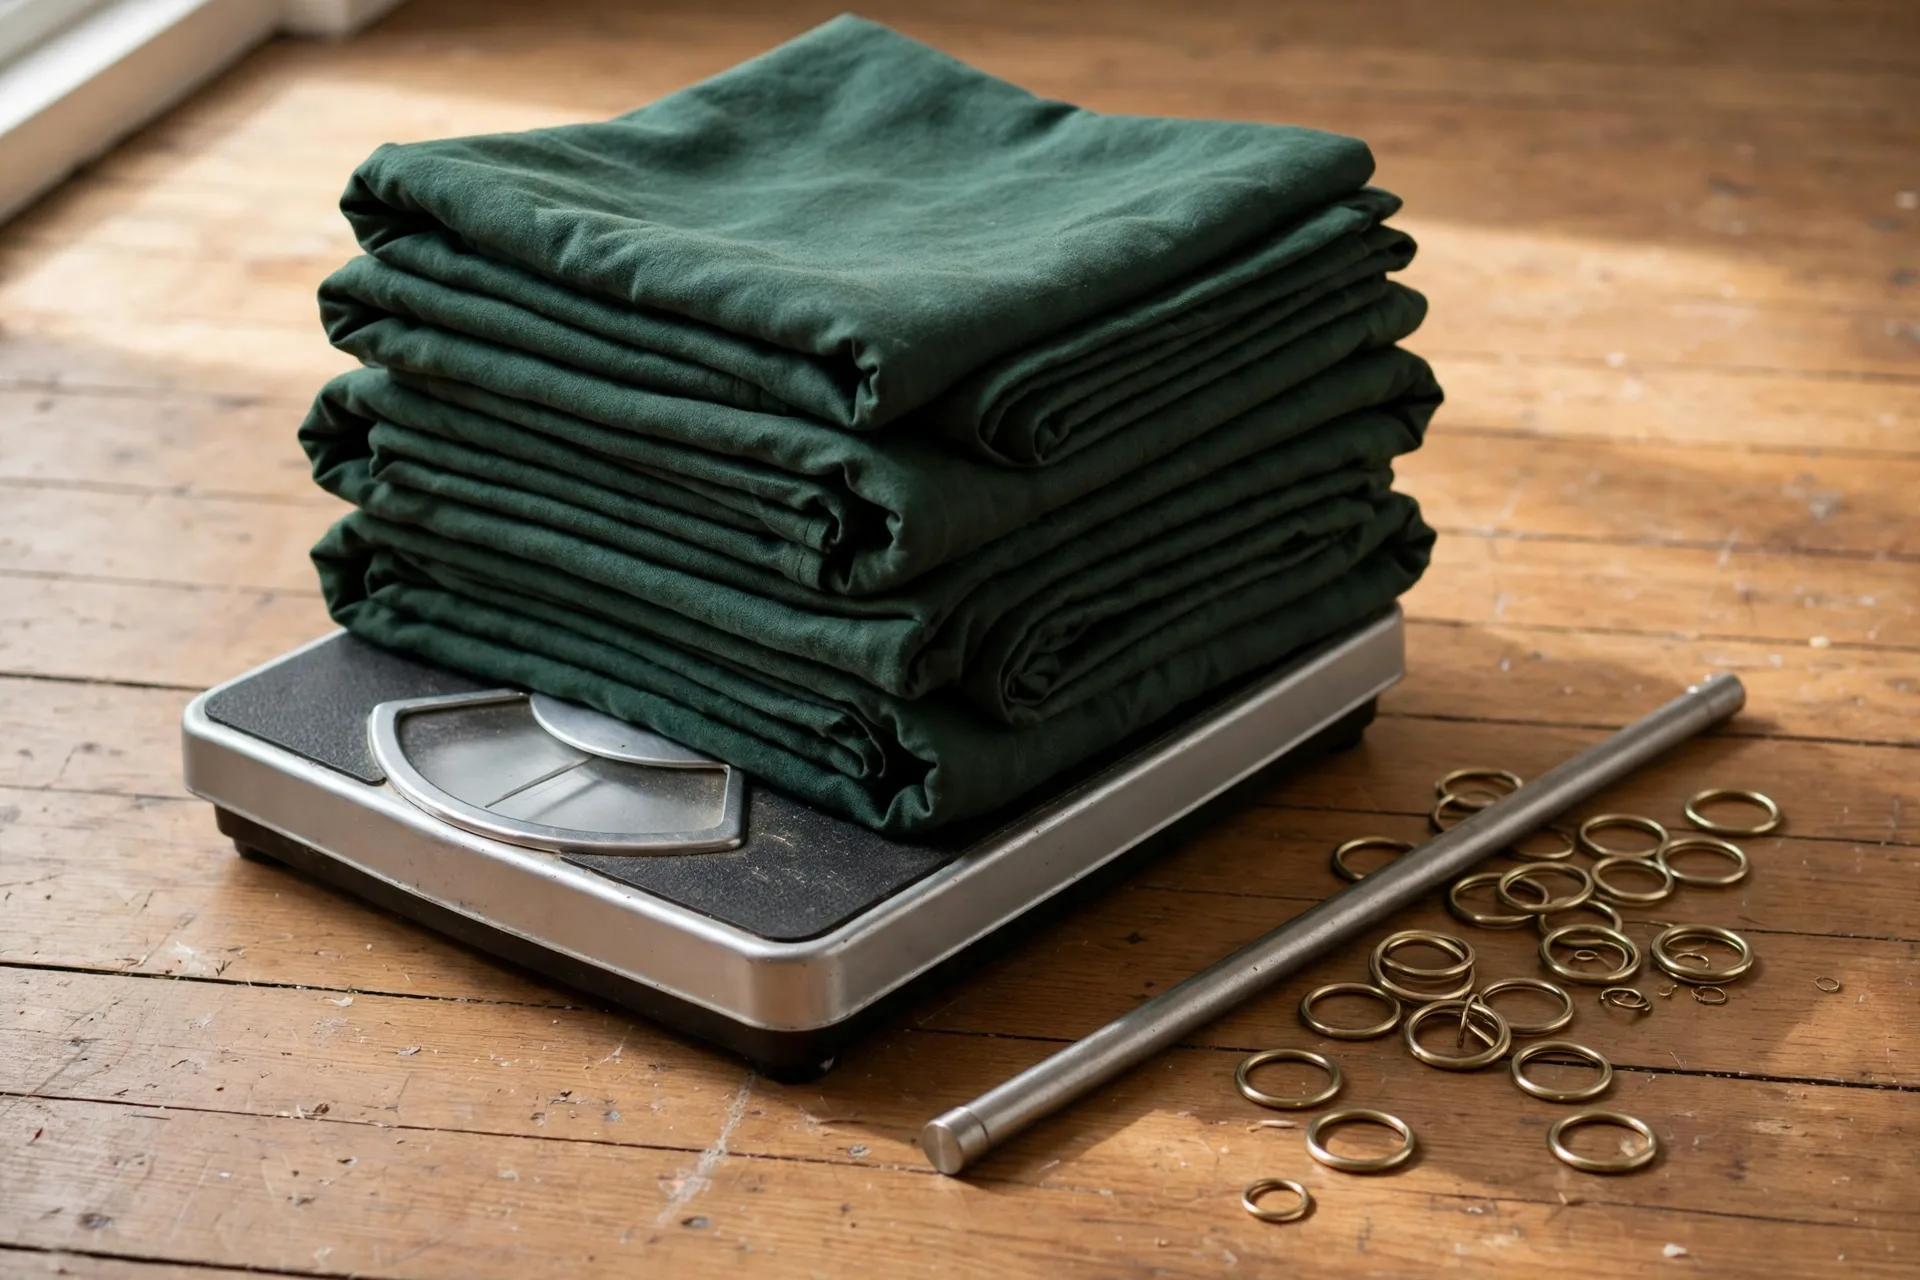
Divide the total weight of the curtains by the length of the rod in feet, and the result is the weight per foot the rod must hold. A 30 lb load on a 10 foot rod calls for 3 lbs per foot, and a 20 lb load on a 5 foot rod calls for 4 lbs per foot, so a short rod with heavy panels can demand more per foot than a long rod with the same panels. Check that figure against the rating on the rod packaging, and if the packaging gives no rating, treat the rod as light-duty and buy a thicker one that does state its rating.
Also note the wall: a stud wall, a drywall wall with no stud where the bracket lands, a plaster wall, and a masonry wall each need a different anchor. Weigh first, and every choice after it is a number, not a guess. For the full hanging steps, see How to Hang Curtains.
Rod diameter and bracket count by span
Rod diameter and bracket count decide whether a heavy curtain stays straight, and both follow the span. A thin rod over a long span bends in the middle under its own weight before the curtains are even hung, and two brackets at the ends cannot stop a long rod from bowing between them.
For heavy curtains, a 1 inch rod is the usual minimum, and at least 1 3/8 inches in diameter for the heaviest drapes, because a thicker rod resists bending far better than a thin one.
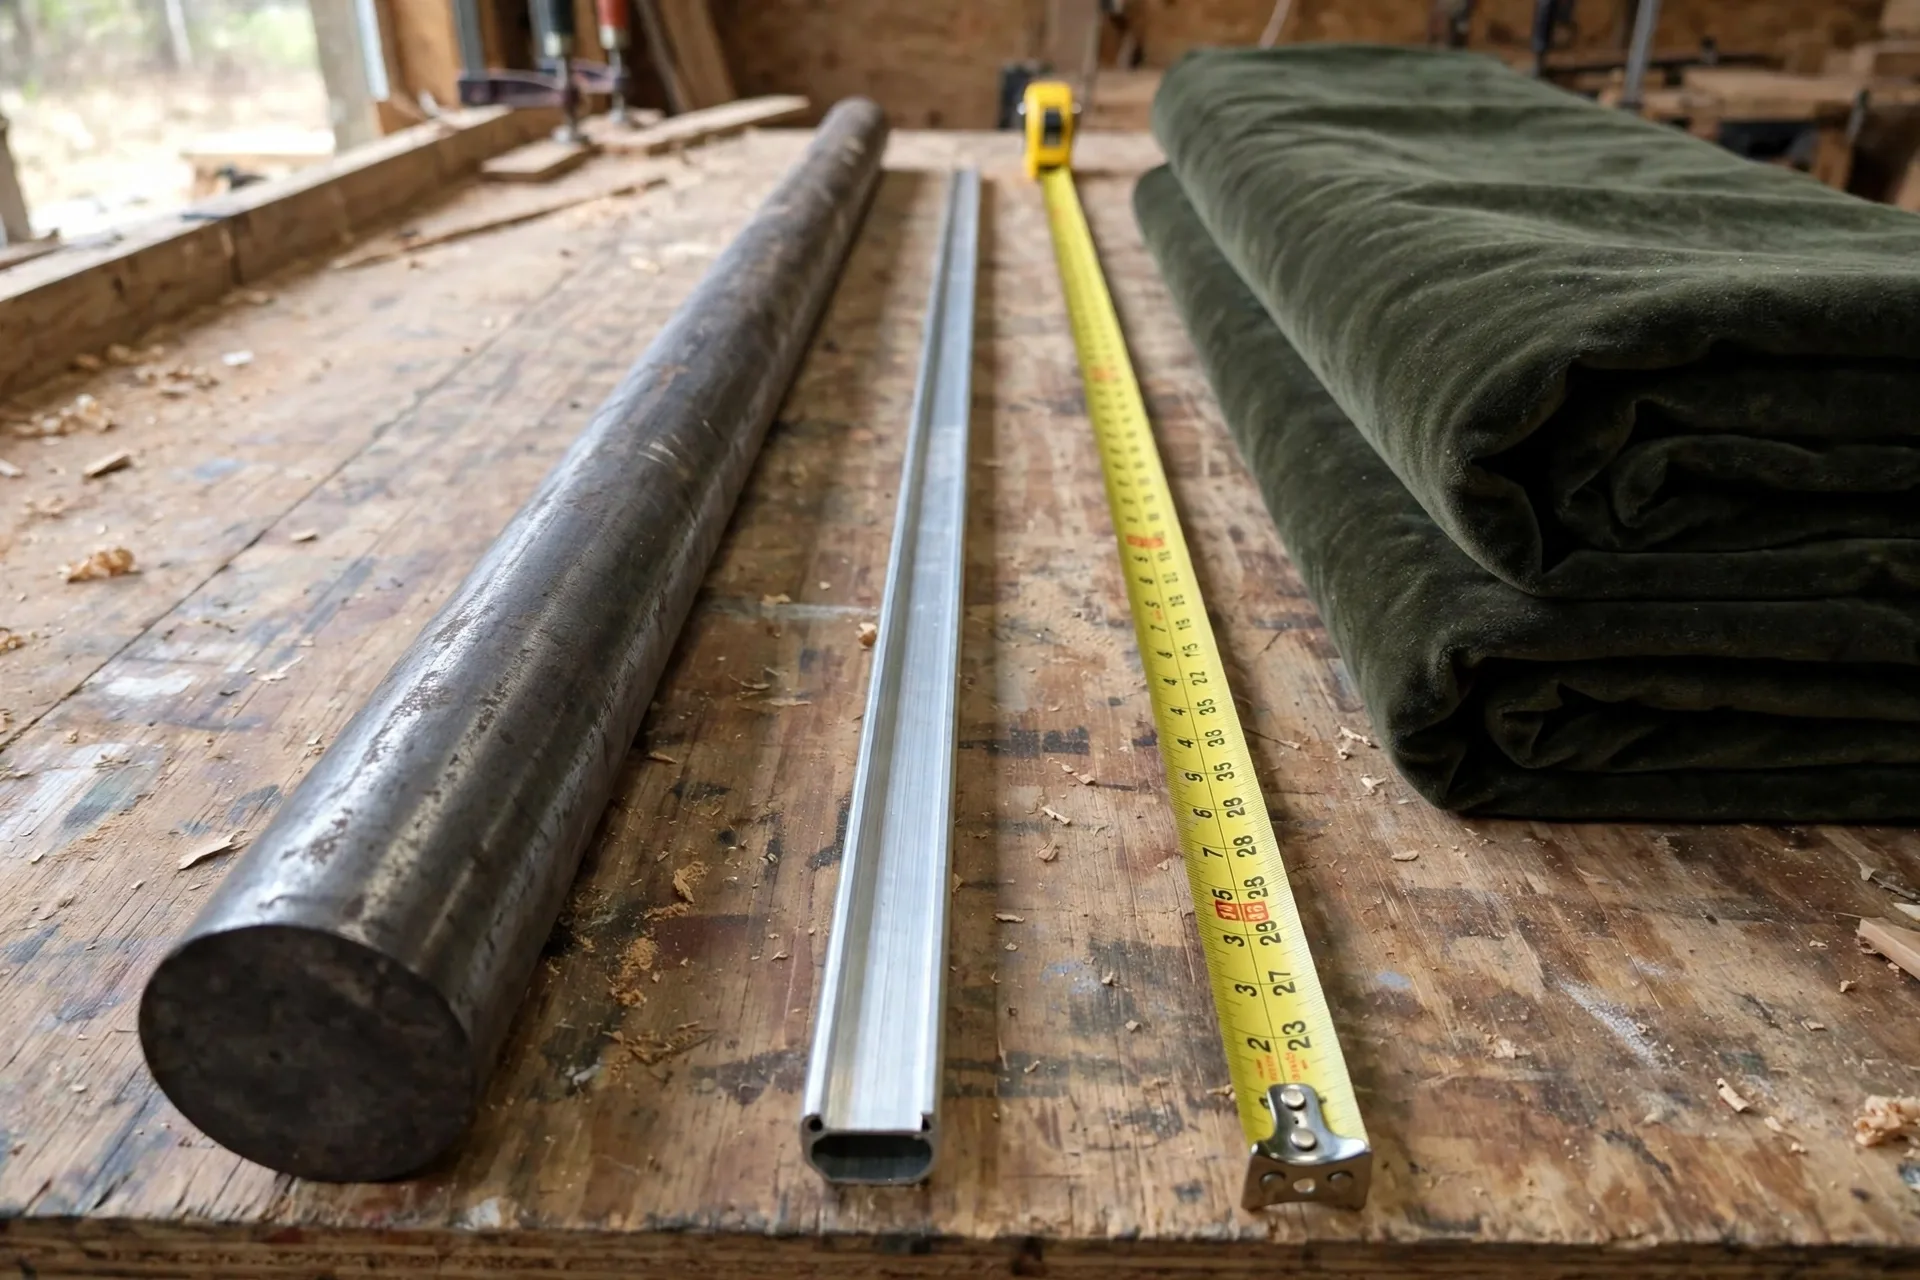
The difference is not cosmetic: a hollow aluminum rod bends more easily than a solid steel rod of the same diameter, so material matters alongside thickness, and a telescoping rod is weakest at its center joint, where the thinner section slides inside the thicker one. Avoid stretching a telescoping rod to its maximum length for a heavy load, and extend it only as far as the window needs.
Bracket count follows the span. Two end brackets are usually enough only where the gap between them stays within about 36 inches.
Go wider than the window as well, so the weight disperses along the rod instead of bunching in the middle, and the curtains glide more smoothly when they open and close. Add center support brackets so no gap between brackets exceeds about 36 inches: from about 37 to 72 inches, add one center support bracket, and from about 73 to 108 inches, add two center supports, spacing them evenly. Wider than about 108 inches, add a further center support for each extra 36 inches of span. Set the outermost brackets about 4 to 6 inches in from the rod ends, never at the very tips, so the finials have clearance and the rod ends do not lever against the brackets. For the measuring steps, see How to Measure for Curtains.
Studs, toggle bolts, and heavy-duty anchors: which anchor holds
The mounting is the part of the job that fails first, and it fails quietly: a bracket that looks solid on the day it goes up works loose over weeks as the weight pulls on it every time the curtains move. The rule is simple. Fix into a stud wherever you can, and where you cannot, use a toggle bolt or a heavy-duty anchor rated for the loaded weight.
Find the studs with a stud finder and mark them before you mark the bracket positions, because the bracket height is set by the window, and the studs may not fall where the brackets want to be.
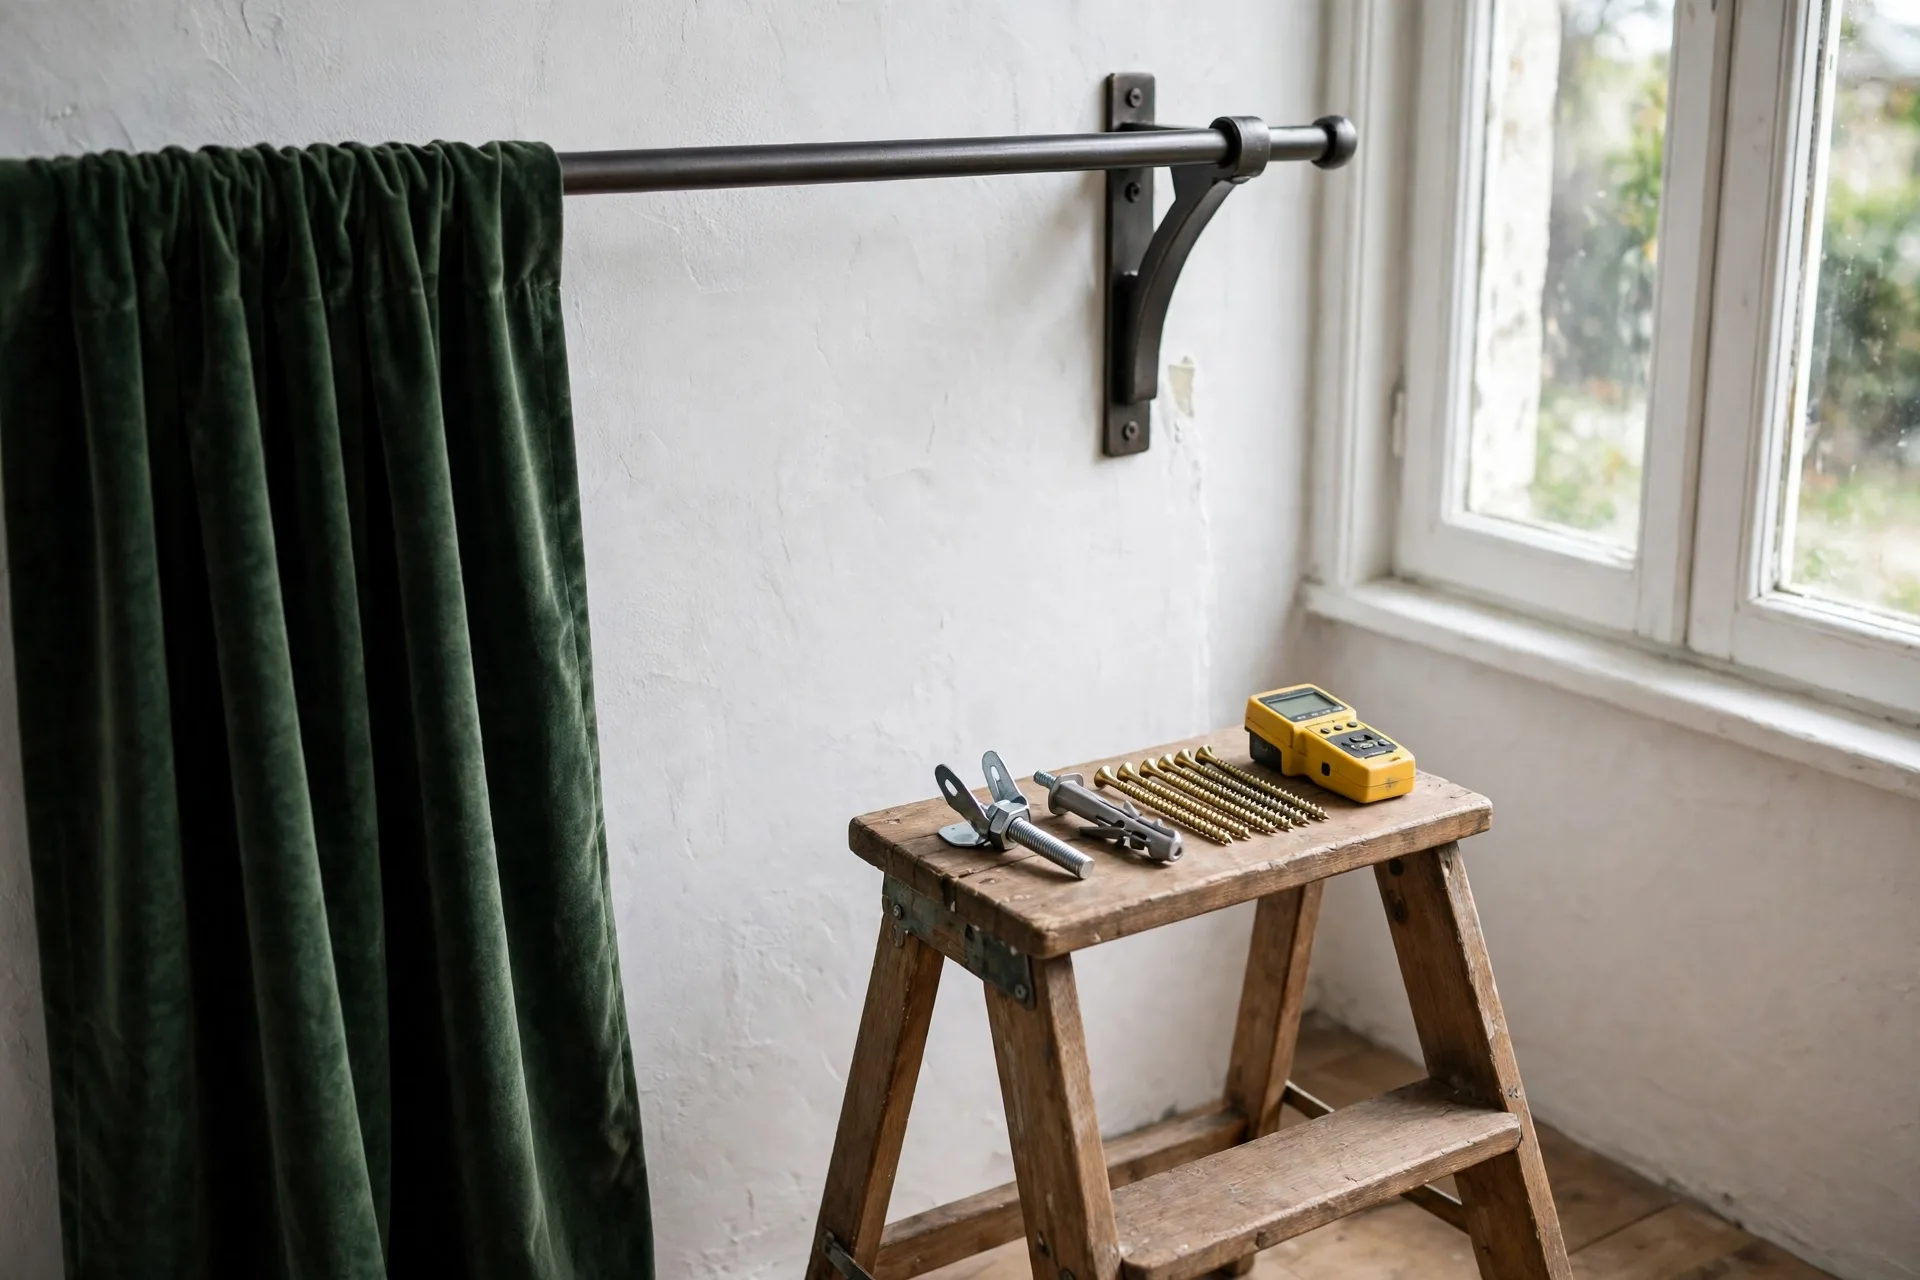
Where a bracket lands on a stud, drive a long wood screw straight into it, about 3 inches long for heavy-duty work, and skip the anchor question entirely. Where a bracket lands on open drywall, drill a pilot hole and fit a toggle bolt or a heavy-duty wall anchor, following the maker instructions so it opens fully behind the board. Toggle bolts and heavy-duty anchors made for this job are rated for 50 lbs or more, and the rating on the package is the number to match against your loaded weight, rod and panels together, not the fabric alone. A light plastic anchor rated for a picture frame is undersized for a rod carrying two full panels, and it will pull out over time even if it feels tight on the day.
Check what is behind the wall before you drill, because pipes and wires run where you least expect them. On a masonry wall, use a masonry bit and sleeve anchors, and on a plaster wall, drill carefully so the plaster does not crack around the hole.
A strip of two-sided tape holds a bracket in place while the screws go in, which keeps the bracket from shifting as you drive the first screw.
Without a stud finder, tap the wall lightly: studs give a solid sound compared to the hollow sound between them, which marks the stud well enough to place a bracket.
Placing the center support so panels still slide
A center support stops a long rod from sagging, but a badly placed one stops the curtains from sliding, which trades one problem for another. The center support belongs under the midpoint of the rod, and the panels must be able to pass it, so the support and the heading have to be chosen together.
A center support with a closed ring traps the panel on one side, because the rings cannot pass through it. That is fine for a stationary panel, and a daily annoyance for a panel that opens and closes.
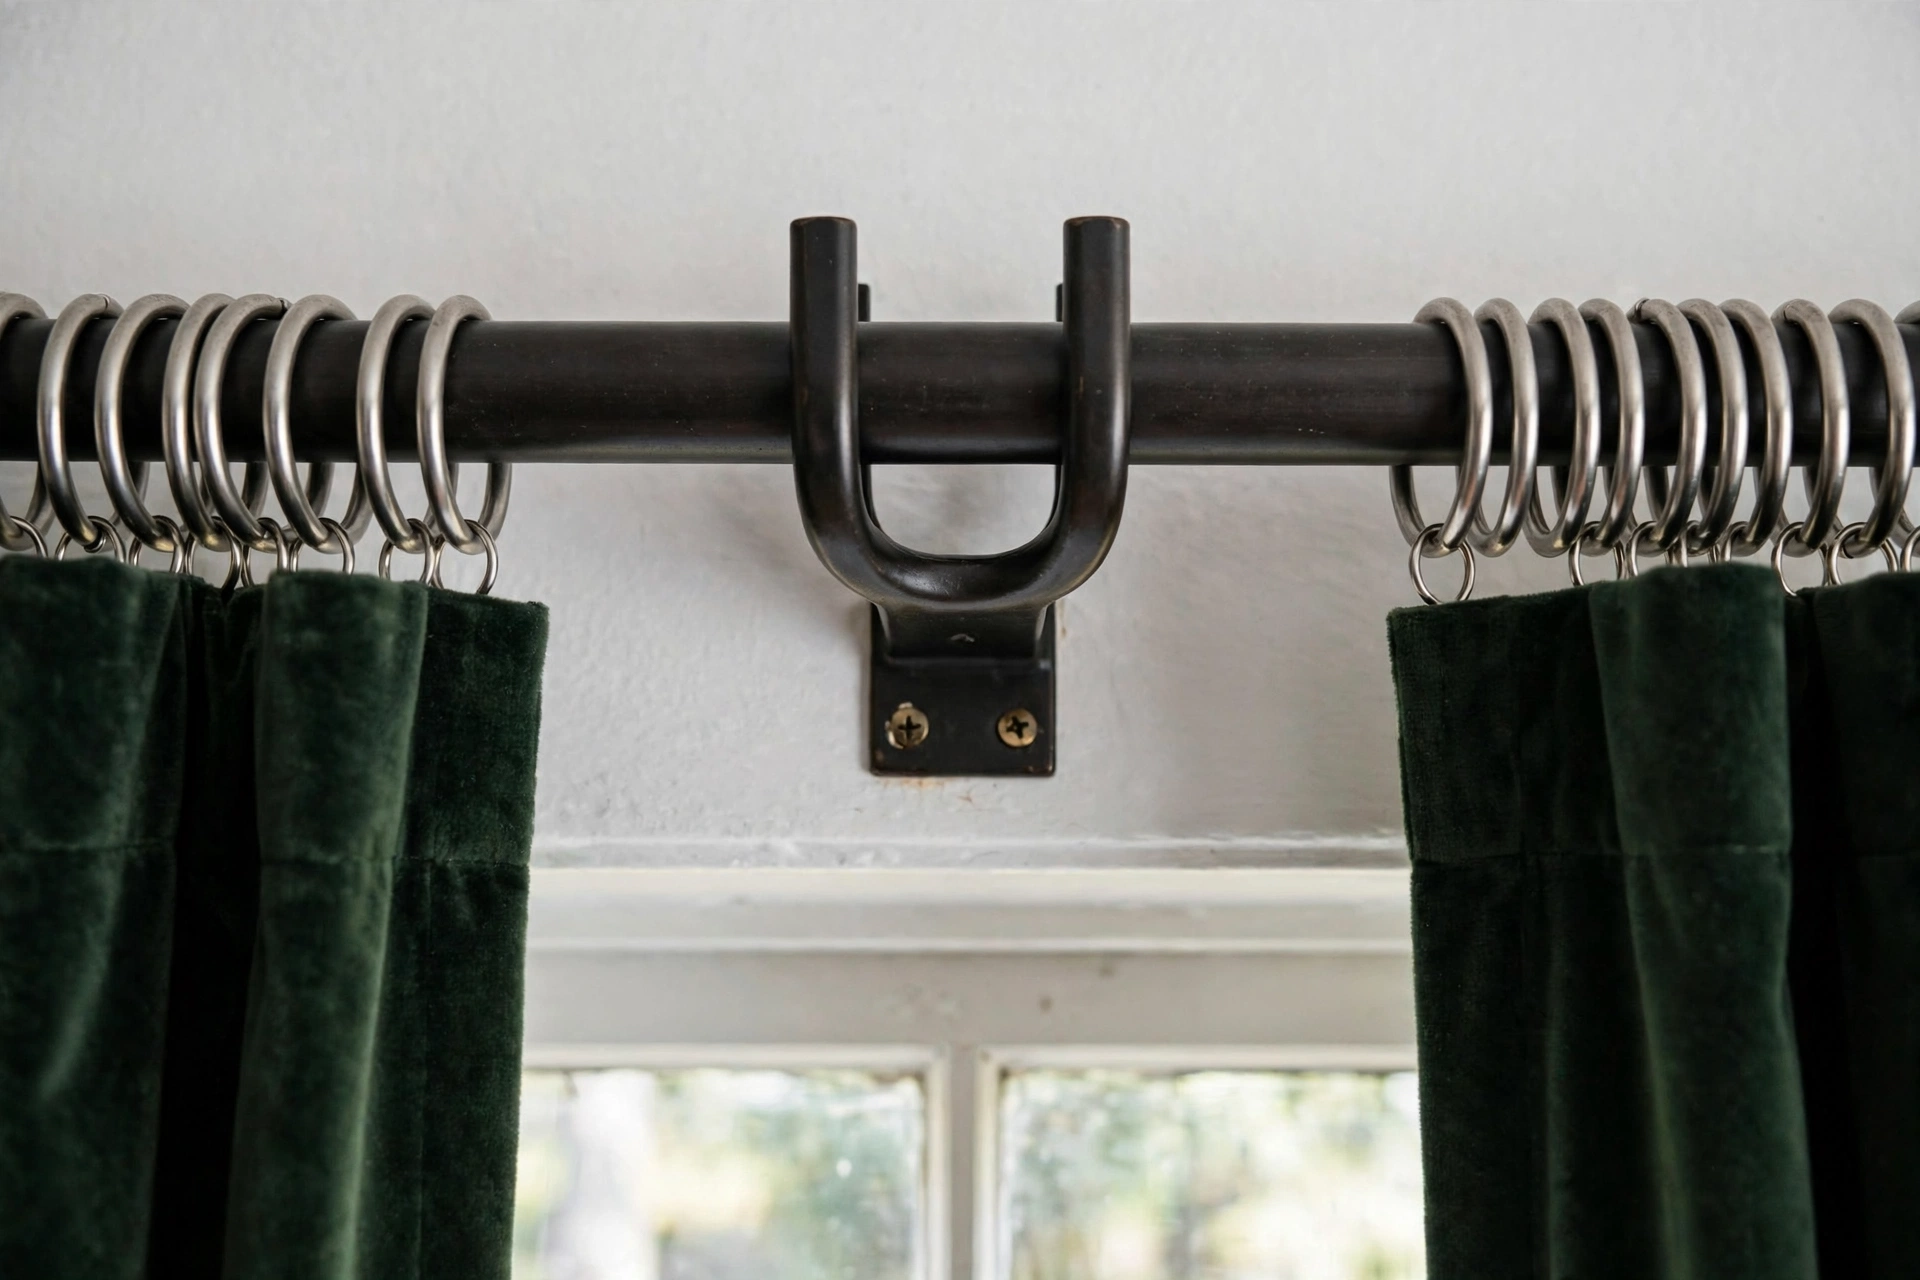
A center support with an open cradle lets the rod sit in it from above while the rings pass underneath, and a support placed at the telescoping joint of the rod puts it where the rod is weakest and needs it most. Mark the midpoint with a level, and check that the support sits at exactly the same height as the end brackets, because a center support a fraction high or low bends the rod instead of supporting it.
Plan the sliding before you drill. Decide which side each panel stacks to when open, and check that the rings can travel from the closed position to the stack position without catching on the center support. Where the panels must slide past the center every day, as on a sliding door or a wide living room window, a track or a ceiling-mounted rod may serve better than a rod with a center support, because a track carries the panels on gliders that pass the supports without catching.
A tension wire system is another alternative for wide windows: a wire mounted to ceiling or wall with brackets, tightened to support the load, suits wide windows and open-plan spaces where a traditional rod does not work, and the weight distributes evenly while the curtains slide easily.
A coated steel cable or rope with heavy-duty closed eye hooks and a turnbuckle gives precise high-force tensioning for the same job: the rope forms a dip under weight and the turnbuckle straightens it, though the system pulls outward on the wall, so anchors must resist pull-out, not just shear, with toggle bolts rated 50 lbs or more where there is no stud, and over-tightening can damage the wall or anchors, so tighten gradually and check the mounts.
Ceiling-mounted rods suit rooms where the wall may not give enough support, because ceiling mounting distributes the weight across the ceiling rather than the walls. For the living room direction, see Best Curtains for Living Room.
Why your rod already sags: reading the bend
A rod that sags is telling you which part of the job failed, and the shape of the bend names the cause. Read the bend before you fix anything, because each cause has a different repair, and fixing the wrong one leaves the sag in place.
A smooth bow in the middle of the rod, with the ends still level, means the rod is too thin for the span or the load, or the span has no center support. The rod itself is bending under the weight, and no amount of tightening the end brackets will straighten it.
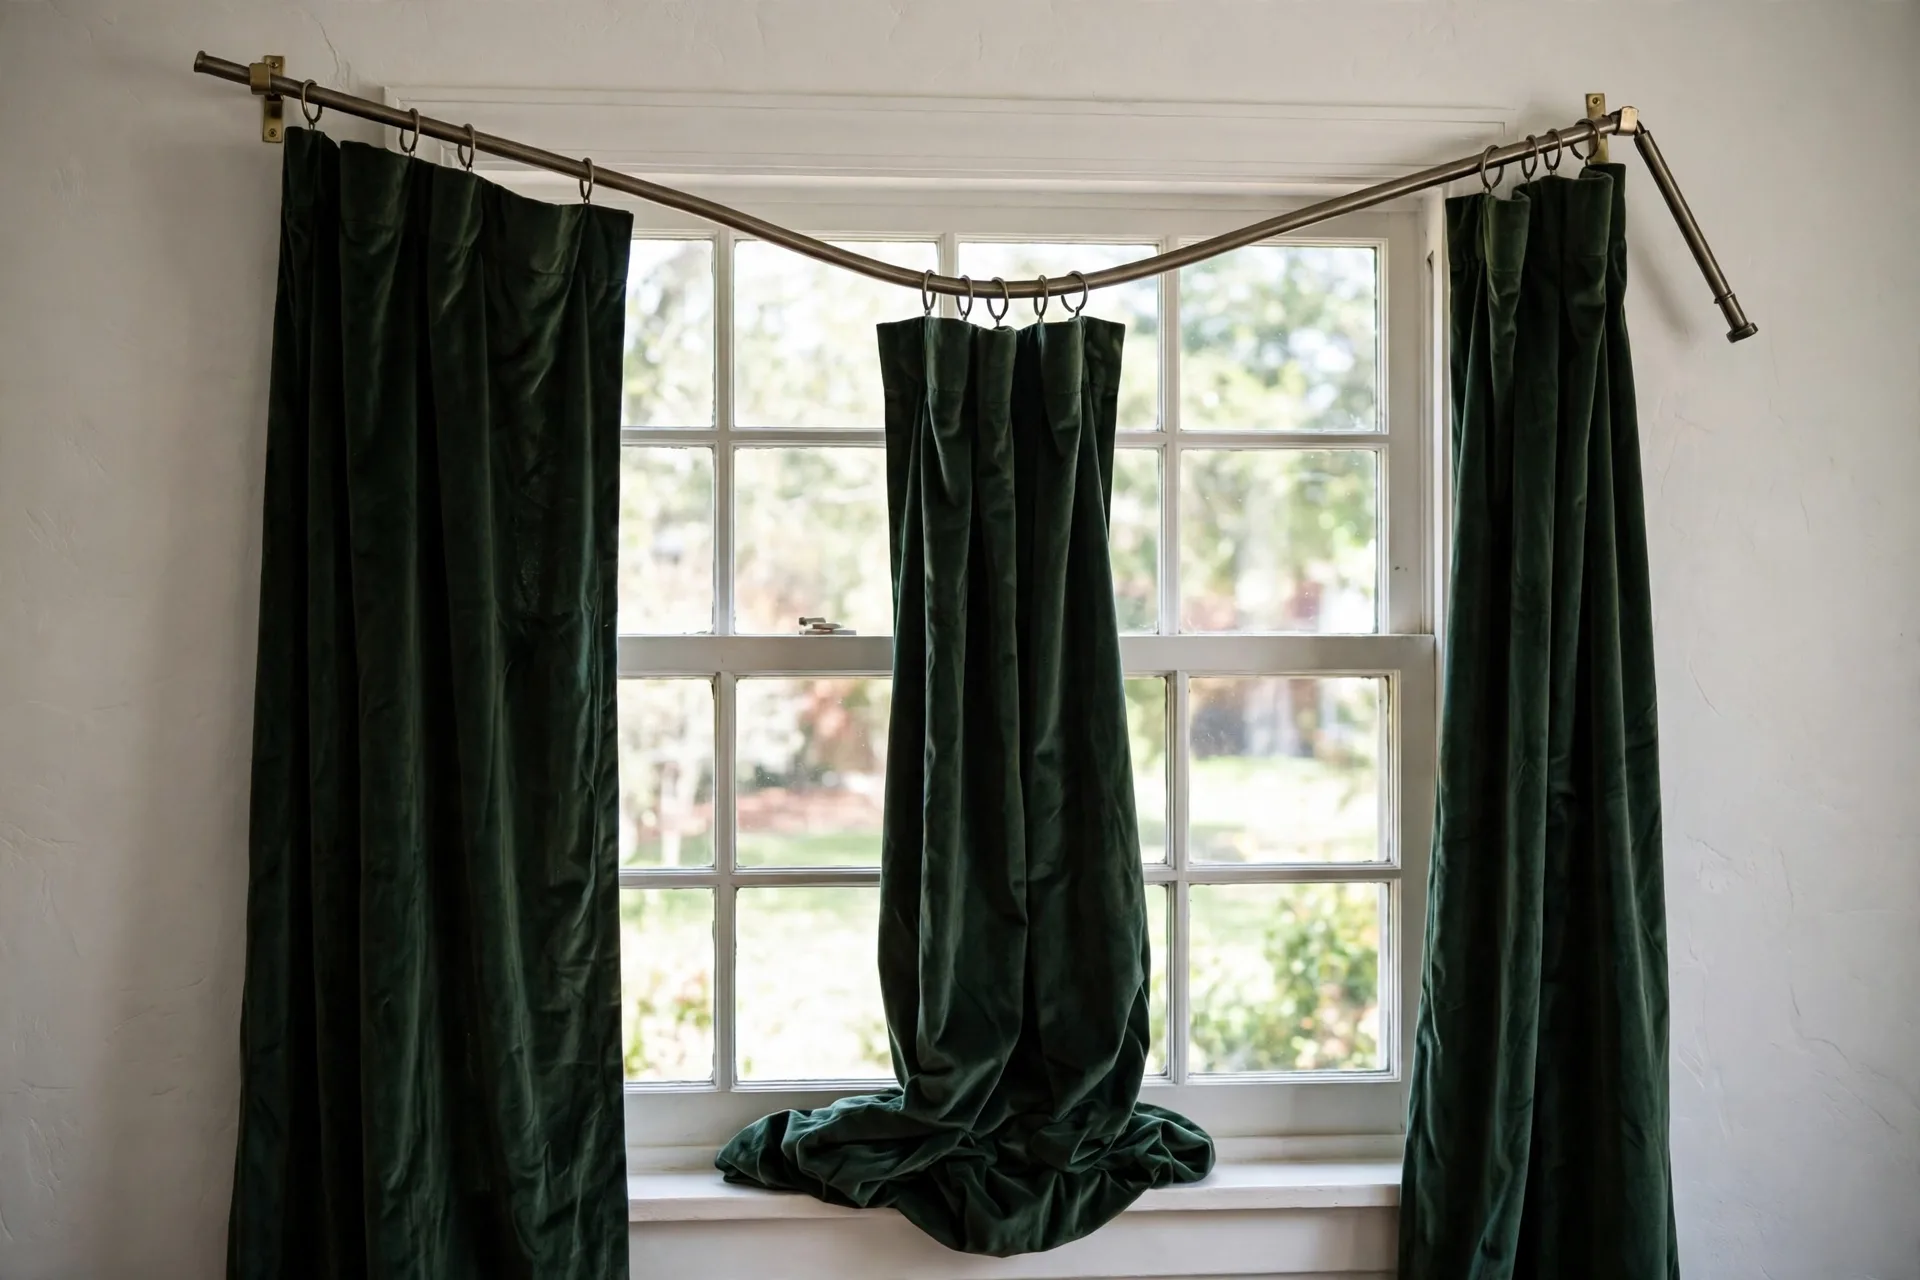
A dip at one end, with the other end still level, means the bracket on the low side is pulling out of the wall, and the anchor has failed or was never strong enough. A rod that sits level when the curtains are open but sags when they are closed means the weight is heaviest in the middle when the panels meet there, and the center span needs support. A rod that has slowly sunk over months, a little lower each season, means the anchors are working loose in drywall, or the fabric itself is stretching under its own weight, which heavy natural fibers do in humid rooms.
Look at the brackets too: a bracket that has tilted forward has its top screws pulling out, and a bracket that has twisted sideways is carrying a load off center. Check the rod for a permanent bend by taking it down and rolling it on a flat floor: a rod that wobbles as it rolls is bent for good.
Direct sunlight weakens fibers over time as well, so use UV-blocking lining and rotate the panels to balance exposure, because a panel that always faces the same sun weakens on one side first.
Fixing a sagging rod without starting over
Most sagging rods can be fixed without taking the whole job down and starting again, and the fix follows the cause you read in the bend. Work through the causes in order, from the cheapest fix to the biggest one, and stop when the rod sits level.
If the rod bows in the middle, add a center support bracket under the midpoint, without removing the rod. Mark the midpoint, fix the support at exactly the same height as the end brackets, and set the rod into it. If the span is wider than about 120 inches, add supports so no gap between brackets exceeds about 36 inches.
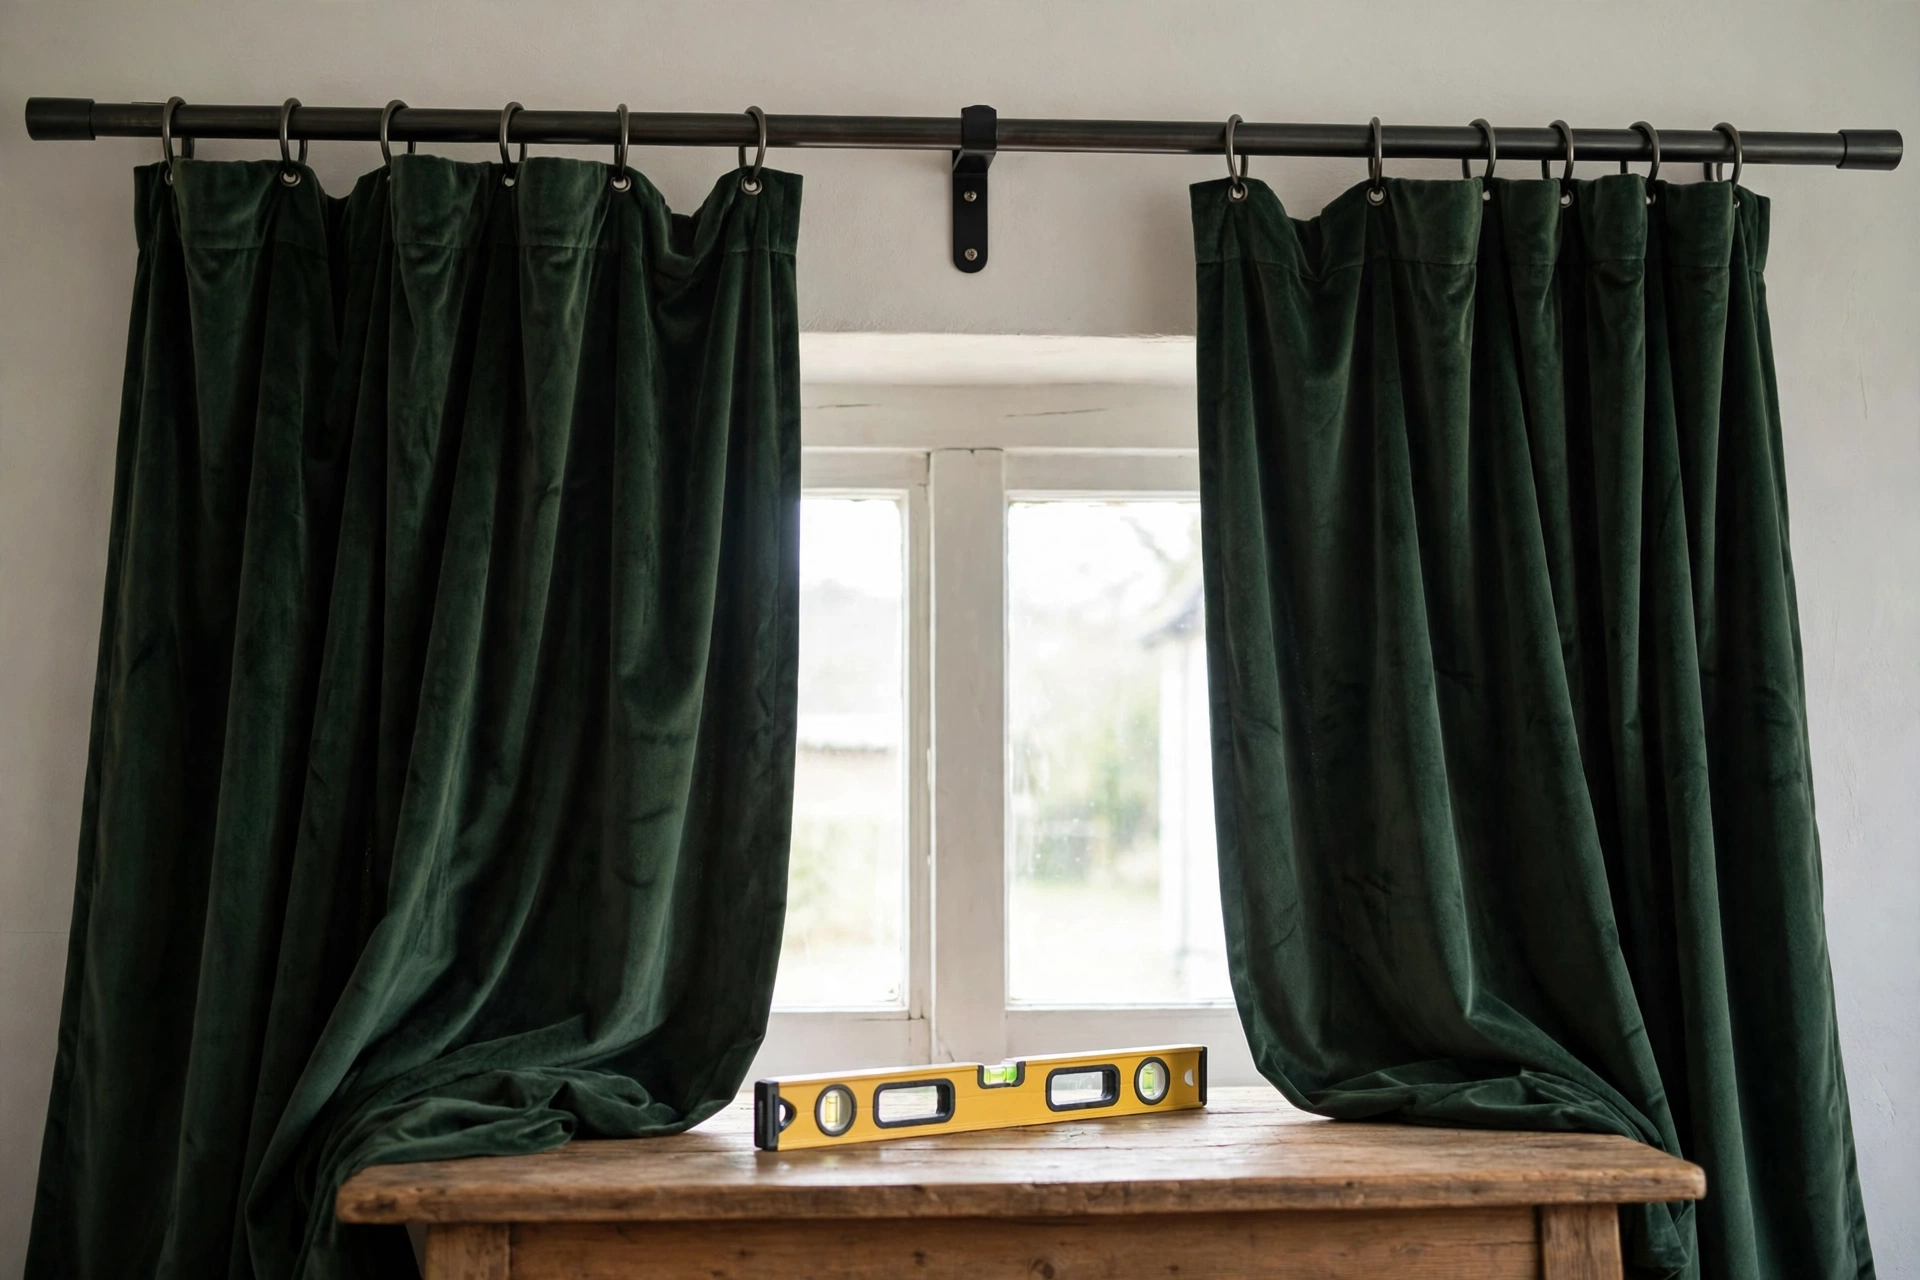
If the rod is thin, replace it with a thicker one, at least 1 inch for heavy curtains and 1 3/8 inches for the heaviest drapes, and choose steel over hollow aluminum where the load is high. A telescoping rod that sags at its center joint can sometimes be fixed by moving the joint off center, so the joint sits over a bracket instead of in the middle of a span, but a rod that has taken a permanent bend needs replacing, because a bent rod will not straighten.
If a bracket is pulling out, take it down and refix it properly. A hole in a stud can take a longer screw, about 3 inches, driven into sound wood. A hole in drywall that has enlarged needs a toggle bolt instead of the anchor that failed, with the toggle opened fully behind the board. Tighten every fastener on the job while you are there, because a heavy curtain loosens the whole set over time. If the fabric itself has stretched, steam the panels to reset their shape.
A no-drill center support is another fix where drilling is not allowed: a tap-in center bracket braces a sagging rod with only tiny pin holes hidden on the top of the trim.
Where the fix needs more than a bracket, replace short screws with longer ones for deeper wall grip, switch to wall-to-wall rods for added stability, add a hidden secondary rod inside hollow drapery sleeves for stiffness, choose solid wood rods, use premium brackets with deeper cradle arms to keep rods from slipping, and fit high-quality rings or gliders to reduce friction and fabric strain.
If sagging has begun and the hardware cannot be upgraded, swap the heavy panels for lighter fabric, because a lighter load is the one fix that needs no new anchor at all.
The double-rod weight trap
A double rod looks like a neat way to layer sheers behind drapes, and it is, but it doubles the load on the same brackets, and that is the trap. Two rods, two sets of panels, and twice the rings all hang from the same anchors, and a bracket set that holds one heavy panel comfortably can fail under two.
Count both layers when you weigh the job, and count both rods as well, because the front rod and the back rod each have their own weight.
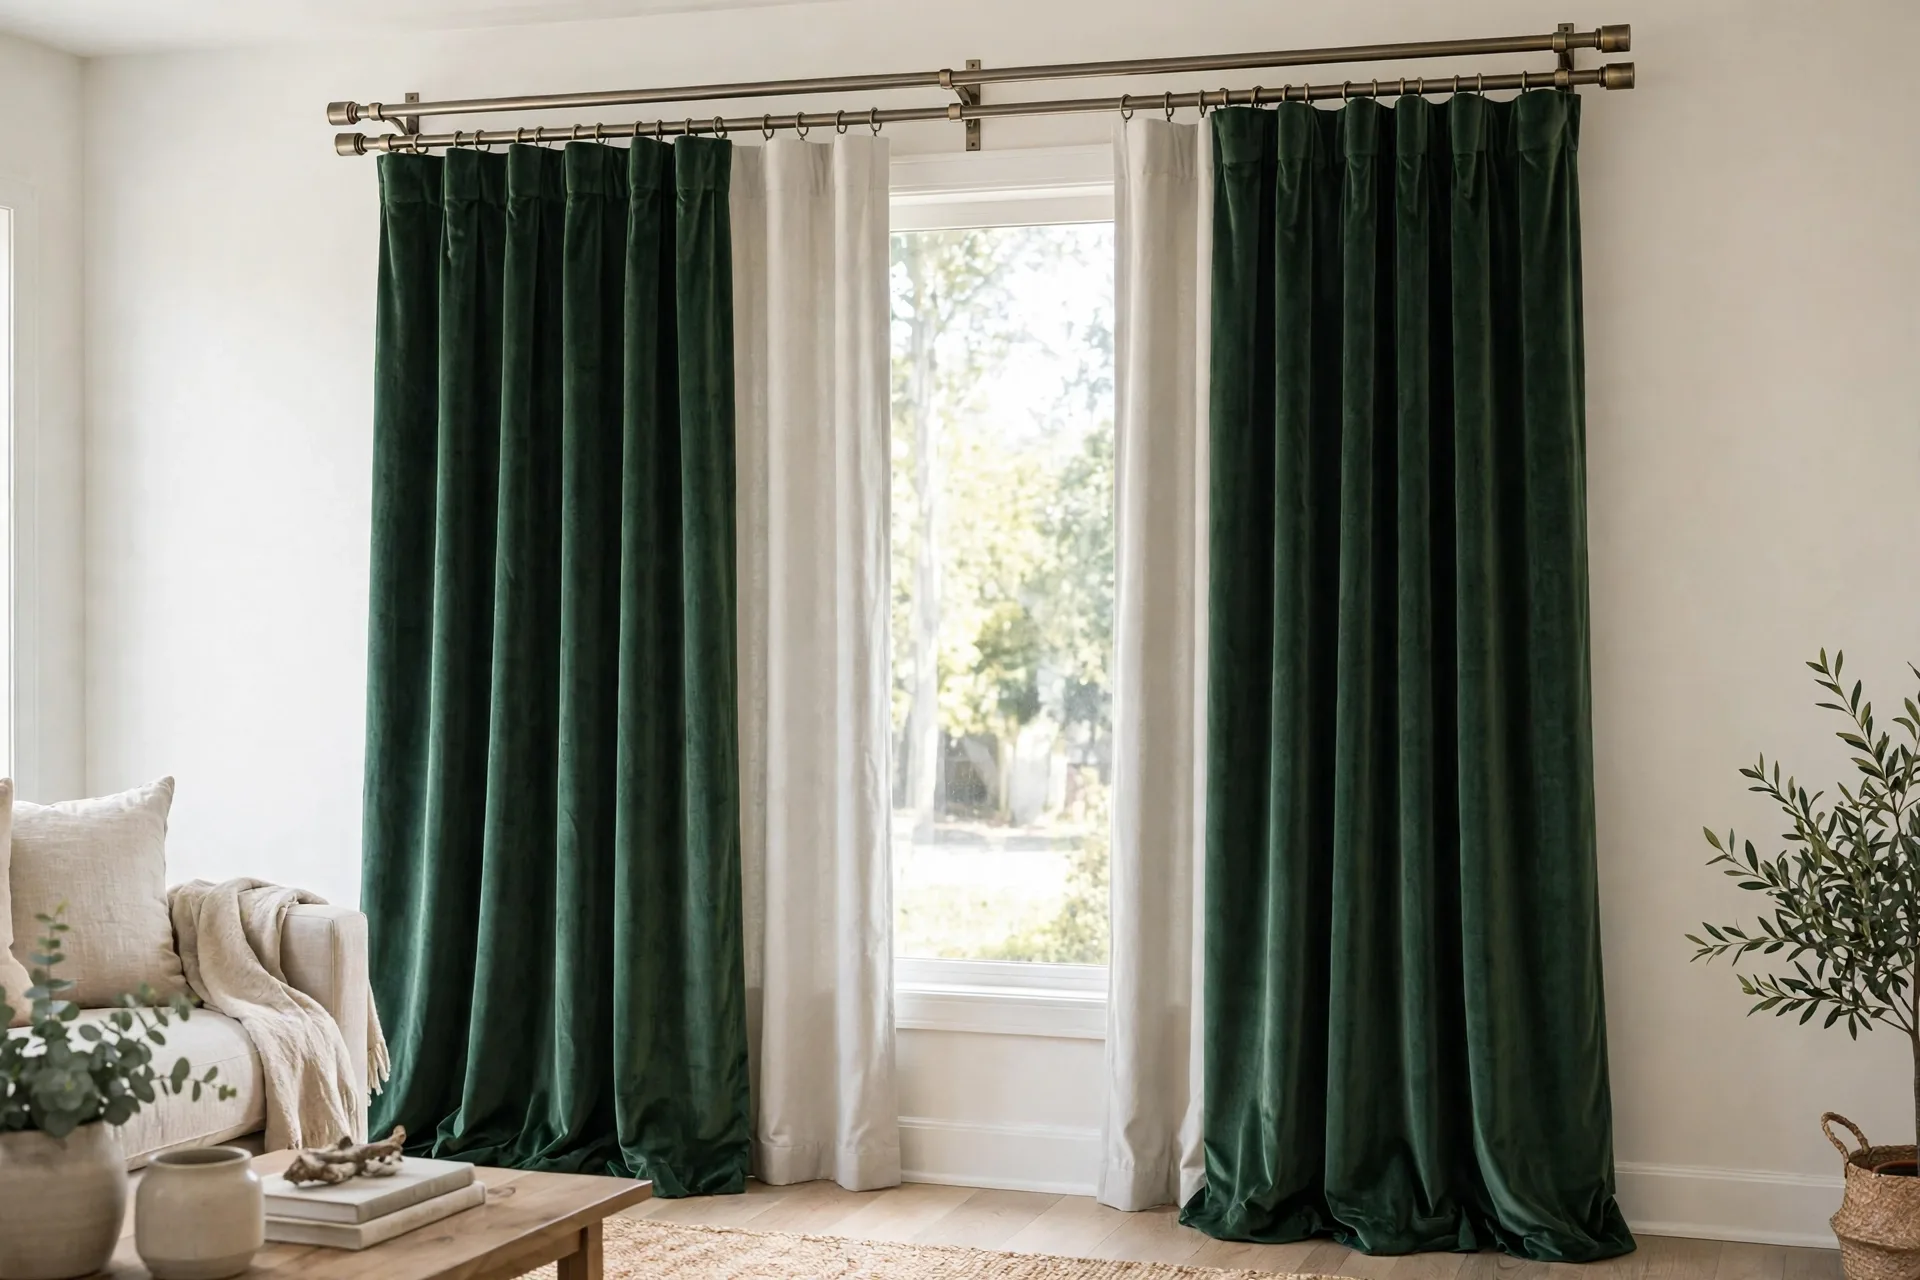
A sheer layer is light, so a sheer behind a heavy drape adds only a little, but a blackout liner behind a velvet drape adds a second heavy layer, and the pair together can pass the rating of a bracket set chosen for one layer alone. Use double brackets rated for the combined load, not for one layer, and check the projection, because the front rod sits farther from the wall than the back rod, and the extra leverage pulls harder on the top screws of the bracket.
Where the combined load is too much for the wall, split the job instead of forcing it: hang the sheer layer on a separate track or a ceiling mount, or hang the heavy layer on its own rod and the sheer on a tension rod inside the recess. For the darkness layer, see Best Blackout Curtains.
Heading styles that carry weight, and ones that drag
The heading is the top edge of the curtain, where the fabric meets the rod, and with heavy fabric it decides how the weight is carried. A heading that shares the load across many rings or hooks glides and stays level, while a heading that hangs by the fabric itself strains, bunches, and drags.
Ring and pleat headings carry heavy fabric best.
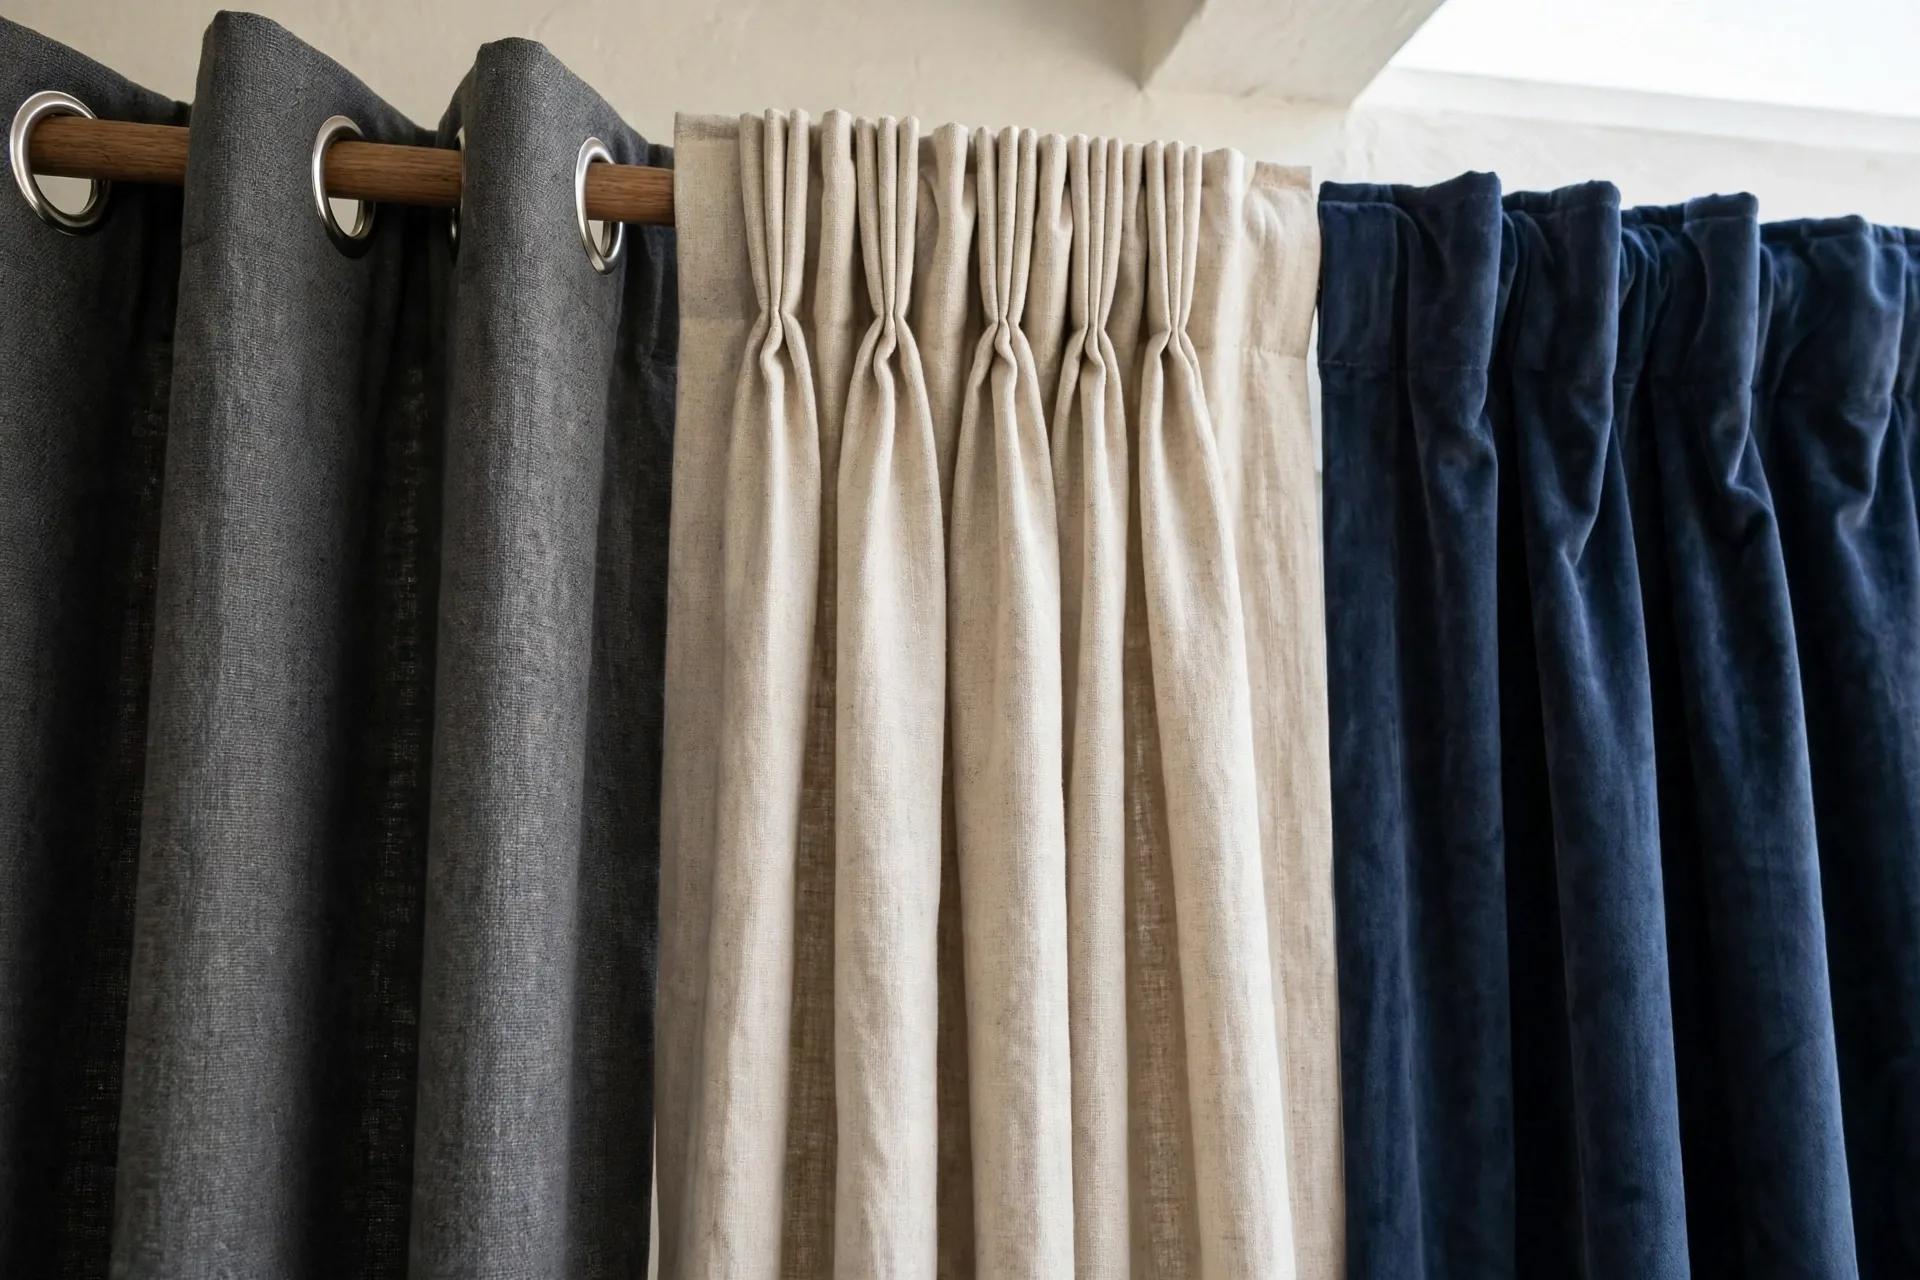
Grommet tops, pinch pleats, inverted box pleats, and pencil pleats all hang from rings or hooks spaced along the rod, so each one carries a small share of the load and the panel glides when you pull it. Pinch pleats are the most structured of the set, and they suit formal heavy drapes that open and close daily.
Rod pocket, tab top, and tie top headings hang by the fabric itself, and with heavy fabric the sleeve bunches, drags, and strains the rod, while the fabric at the top stretches under its own weight. Save rod pockets for sheers and light panels, where the fabric is light enough that the sleeve never strains. If you already own heavy panels with a rod pocket heading, add clip rings that grip the top edge and hang from the rod, so the rings carry the weight instead of the fabric, and the panel will slide and hang straighter at once.
Train the pleats after hanging: fold and tie the drapes in position for a few days, add discreet weights to hems to keep the fabric hanging straight, and use reinforced hem tape to maintain the shape.
Hanging day: the two-person lift and the level check
Heavy curtains are a two-person job, and the lift is where a good installation goes wrong most often, because a loaded rod is awkward, heavy, and hard to hold level with one pair of hands. Plan the lift before you pick the rod up.
Hang the panels on the rod on the floor or on a table first, with the rings or hooks in place, and check that the panels hang evenly from the rod before you lift it.
Have one person hold each end of the loaded rod, lift together, and set the rod into the brackets at the same time, so neither end takes the full weight alone.
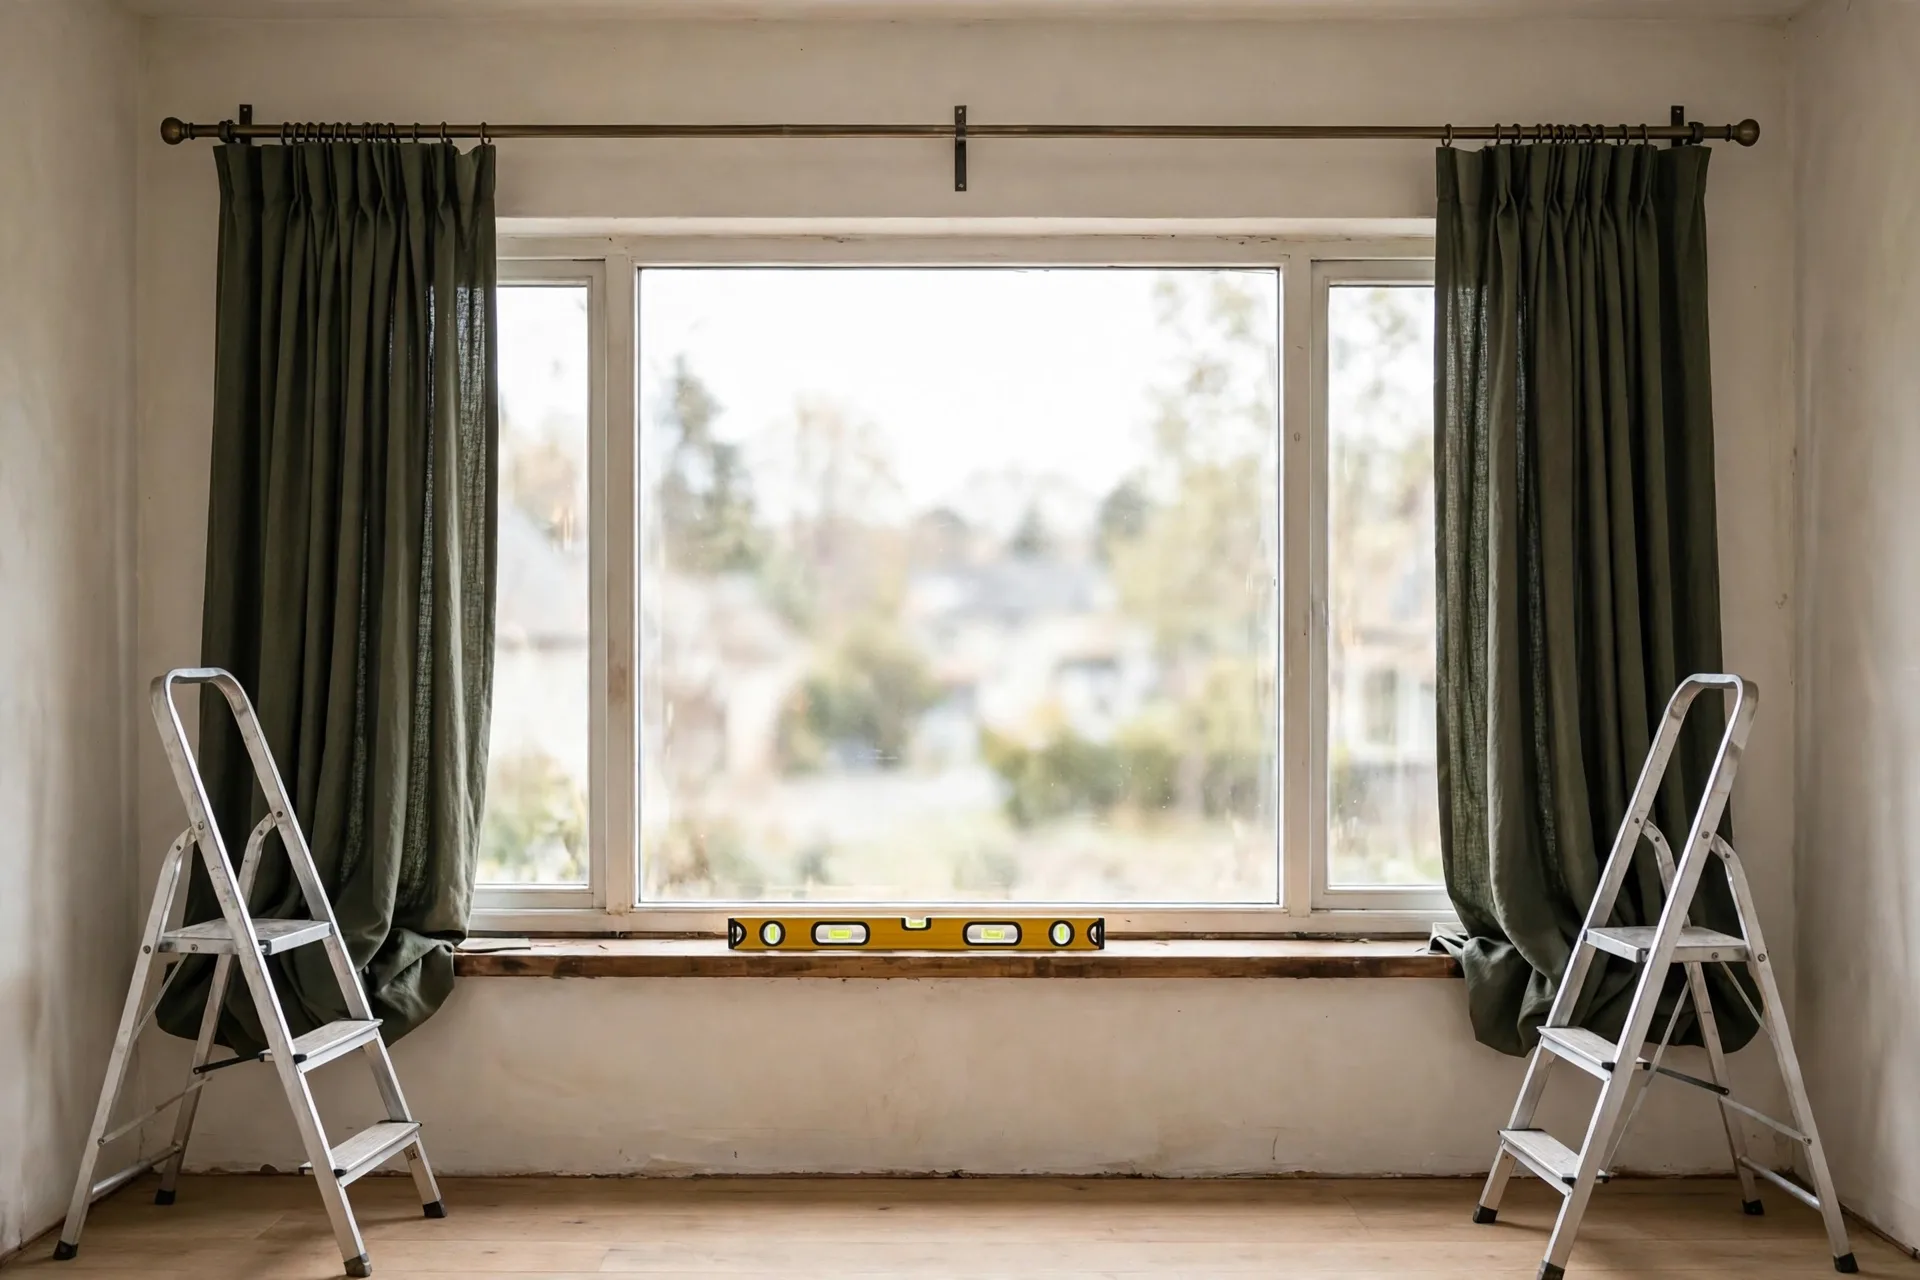
Two chairs make the lift easier: pull up one chair at each end, one person starts at each end, and meet in the middle. A rod held by one end while the other end dangles loads the held bracket sideways, and that is how a fresh bracket gets pulled loose on the day it goes in. Once the rod is seated, check it with a level across the full span, and check again after the panels have hung for a day, because the load settles and the brackets seat into their anchors under the weight. Tighten any fastener that has moved, and re-check the level after a week of daily use.
Heavy panels that are not properly secured can become a safety hazard, especially where children or pets pull at them, so test the whole job by tugging firmly on the panels at the center and at each end before you call it done.
Children or pets pulling on drapes accelerates wear, so use tiebacks or holdbacks where they reach the panels.
Keep a schedule after hanging day: dust rods and brackets monthly and check for uneven pleats, tighten screws and anchors quarterly and inspect fabric for early stretching, and steam or professionally clean drapes annually while assessing hardware for replacement. Rotate panels occasionally to balance sun exposure. For the bedroom setup that most often needs this care, see Best Curtains for Bedroom.
Frequently asked questions about hanging heavy curtains without sagging
Most heavy-curtain questions come down to the rod, the brackets, and the wall, and to what to do when the rod already sags.
What size rod do I need for heavy curtains?
A 1 inch rod is the usual minimum for heavy curtains, and at least 1 3/8 inches in diameter for the heaviest drapes. Choose steel over hollow aluminum where the load is high, and avoid stretching a telescoping rod to its maximum length, because it is weakest at the center joint. Divide your total load by the rod length in feet to get the weight per foot, and match that against the rating on the rod packaging.
How many brackets do I need for a heavy curtain rod?
Two end brackets are usually enough only where the gap between them stays within about 36 inches. From about 37 to 72 inches, add one center support bracket, and from about 73 to 108 inches, add two. Wider than about 108 inches, add a further center support for each extra 36 inches of span. Set the outermost brackets about 4 to 6 inches in from the rod ends.
Should curtain brackets go into studs?
Fix into a stud wherever you can, because a long wood screw in a stud is the strongest anchor there is. Where a bracket lands on open drywall, use a toggle bolt or a heavy-duty anchor rated for the loaded weight, rod and panels together, and check the rating on the package. A light plastic anchor rated for a picture frame will pull out under a heavy curtain over time.
How do I fix a curtain rod that is already sagging?
Read the bend first. A bow in the middle calls for a center support bracket under the midpoint, or a thicker rod if the rod itself has bent. A dip at one end calls for refixing that bracket, with a longer screw into a stud or a toggle bolt in drywall. A rod that has taken a permanent bend, shown by wobbling when rolled on a flat floor, needs replacing.
Can I hang heavy curtains without drilling?
You can, where the window has wooden trim and the brackets are rated for the weight, as tap-in brackets support up to 20 lb. Adhesive hooks and tension rods will not carry heavy curtains, and they slip or fall under lined or blackout weight. Weigh the job first, and if no no-drill method is rated for your load, drill and fix properly instead of overloading a weaker method.
Why do my curtains sag in the middle when they are closed?
When the panels meet in the middle, the weight gathers at the center of the span, which is the weakest point of a rod with only end brackets. A center support bracket under the midpoint carries that load. If the panels must slide past the center every day, use an open cradle support that the rings can pass, or a track, which carries the panels on gliders that pass the supports without catching.
Do double rods hold less weight than single rods?
A double rod does not hold less, but it carries more: two rods, two sets of panels, and twice the rings all hang from the same brackets. Count both layers and both rods when you weigh the job, and use double brackets rated for the combined load. Where the combined load is too much for the wall, split the layers onto separate anchors instead of forcing both onto one set.
What heading is best for heavy curtains?
Ring and pleat headings carry heavy fabric best: grommet tops, pinch pleats, inverted box pleats, and pencil pleats all hang from rings or hooks spaced along the rod, so each carries a small share of the load. Rod pocket, tab top, and tie top headings hang by the fabric itself, and with heavy fabric they bunch, drag, and stretch. Save rod pockets for sheers, or add clip rings to a heavy rod pocket panel so the rings carry the weight.
For other curtain help, see Best Window Curtains.
This guide is research-based curation: we compared maker specifications, published reviews, and current prices. Read how we choose.