 Best
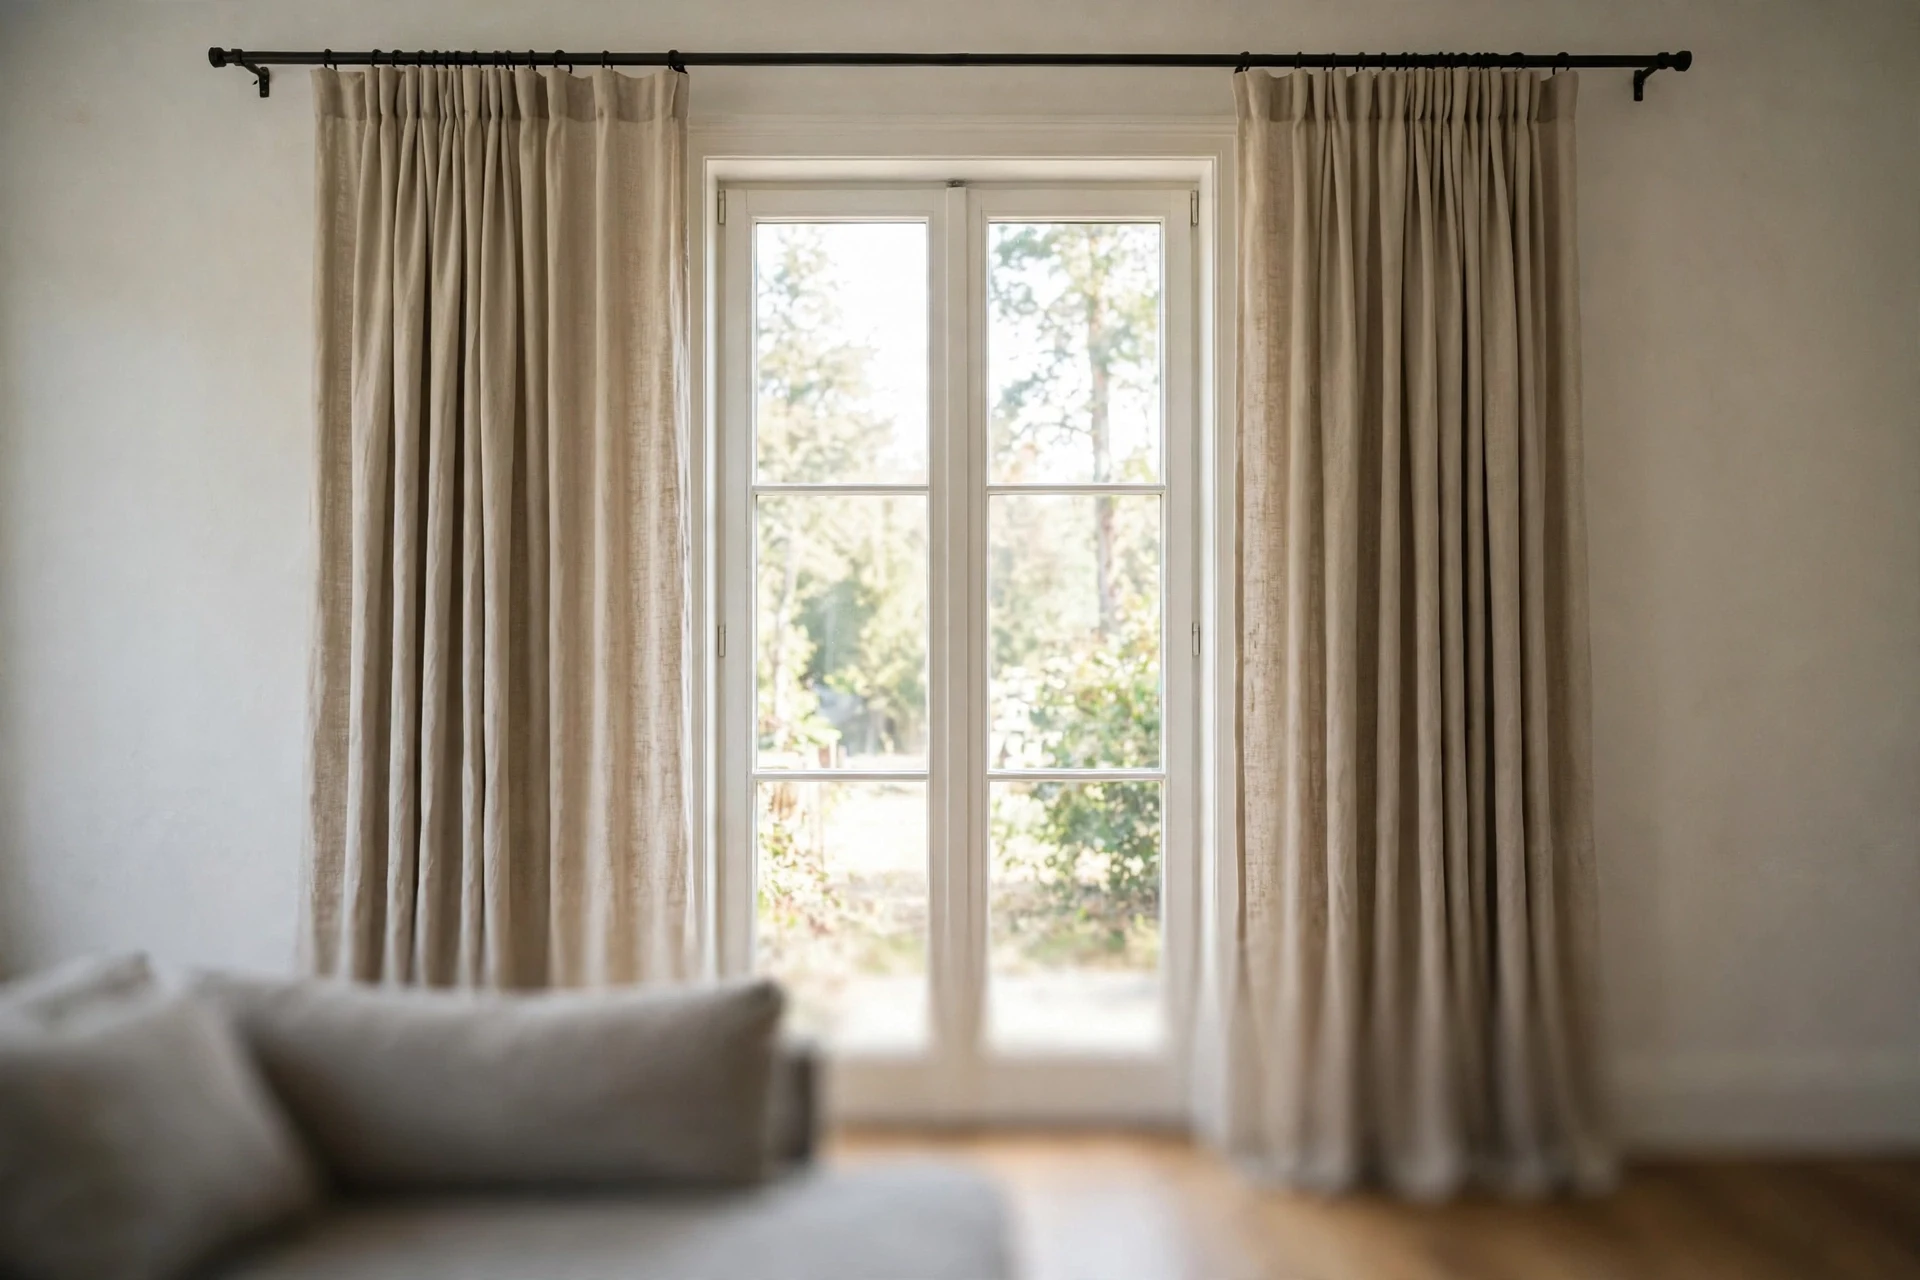
Curtain rod height and width rules: how high to hang a curtain rod
How high to hang a curtain rod is the first decision, because a rod hung high and wide makes the window look taller and larger. This guide gives the standard rule in plain form, then the adjustments for ceilings, molding, and what sits below.
Hang the rod about 4 to 6 inches above the window frame, and run it about 8 to 12 inches past the frame on each side. That one pair of numbers is the standard rule, and it fits most windows in most rooms. The rest of this guide is about when to bend it: tall ceilings, low ceilings, crown molding, radiators and desks below the glass, small windows that need scale, and wide windows that need room for the panels to stack.
The rule is a trade convention, not a building code, so no inspector checks it. It comes from the way installers, workrooms, and designers hang curtains every day, because a rod mounted any lower or narrower makes a window read smaller than it is. Measure both numbers before you mark a single bracket hole, because the height sets your curtain length and the width sets whether your panels can ever clear the glass.
The words matter too: curtains are lightweight fabric such as voile, cotton, gauze, or lace, usually unlined and normally left in place, while draperies are heavier fabrics such as velvet or silk, often lined, opened and closed to let in light or block it, and drape is a verb for the way fabric hangs, while drapes has become a synonym for draperies.
The standard rule in plain form
The standard rule has two numbers, both measured from the window frame, not from the glass. Height is measured from the top of the outer window casing, the trim itself, up to the underside of the rod. Width is measured from the outer edge of that same casing out to each side.
Mount the rod 4 to 6 inches above the top of the frame. That range assumes there is at least 8 to 10 inches of wall between the frame and the ceiling.
Run the rod 8 to 12 inches past the frame on each side, so the total rod is 16 to 24 inches longer than the window width.
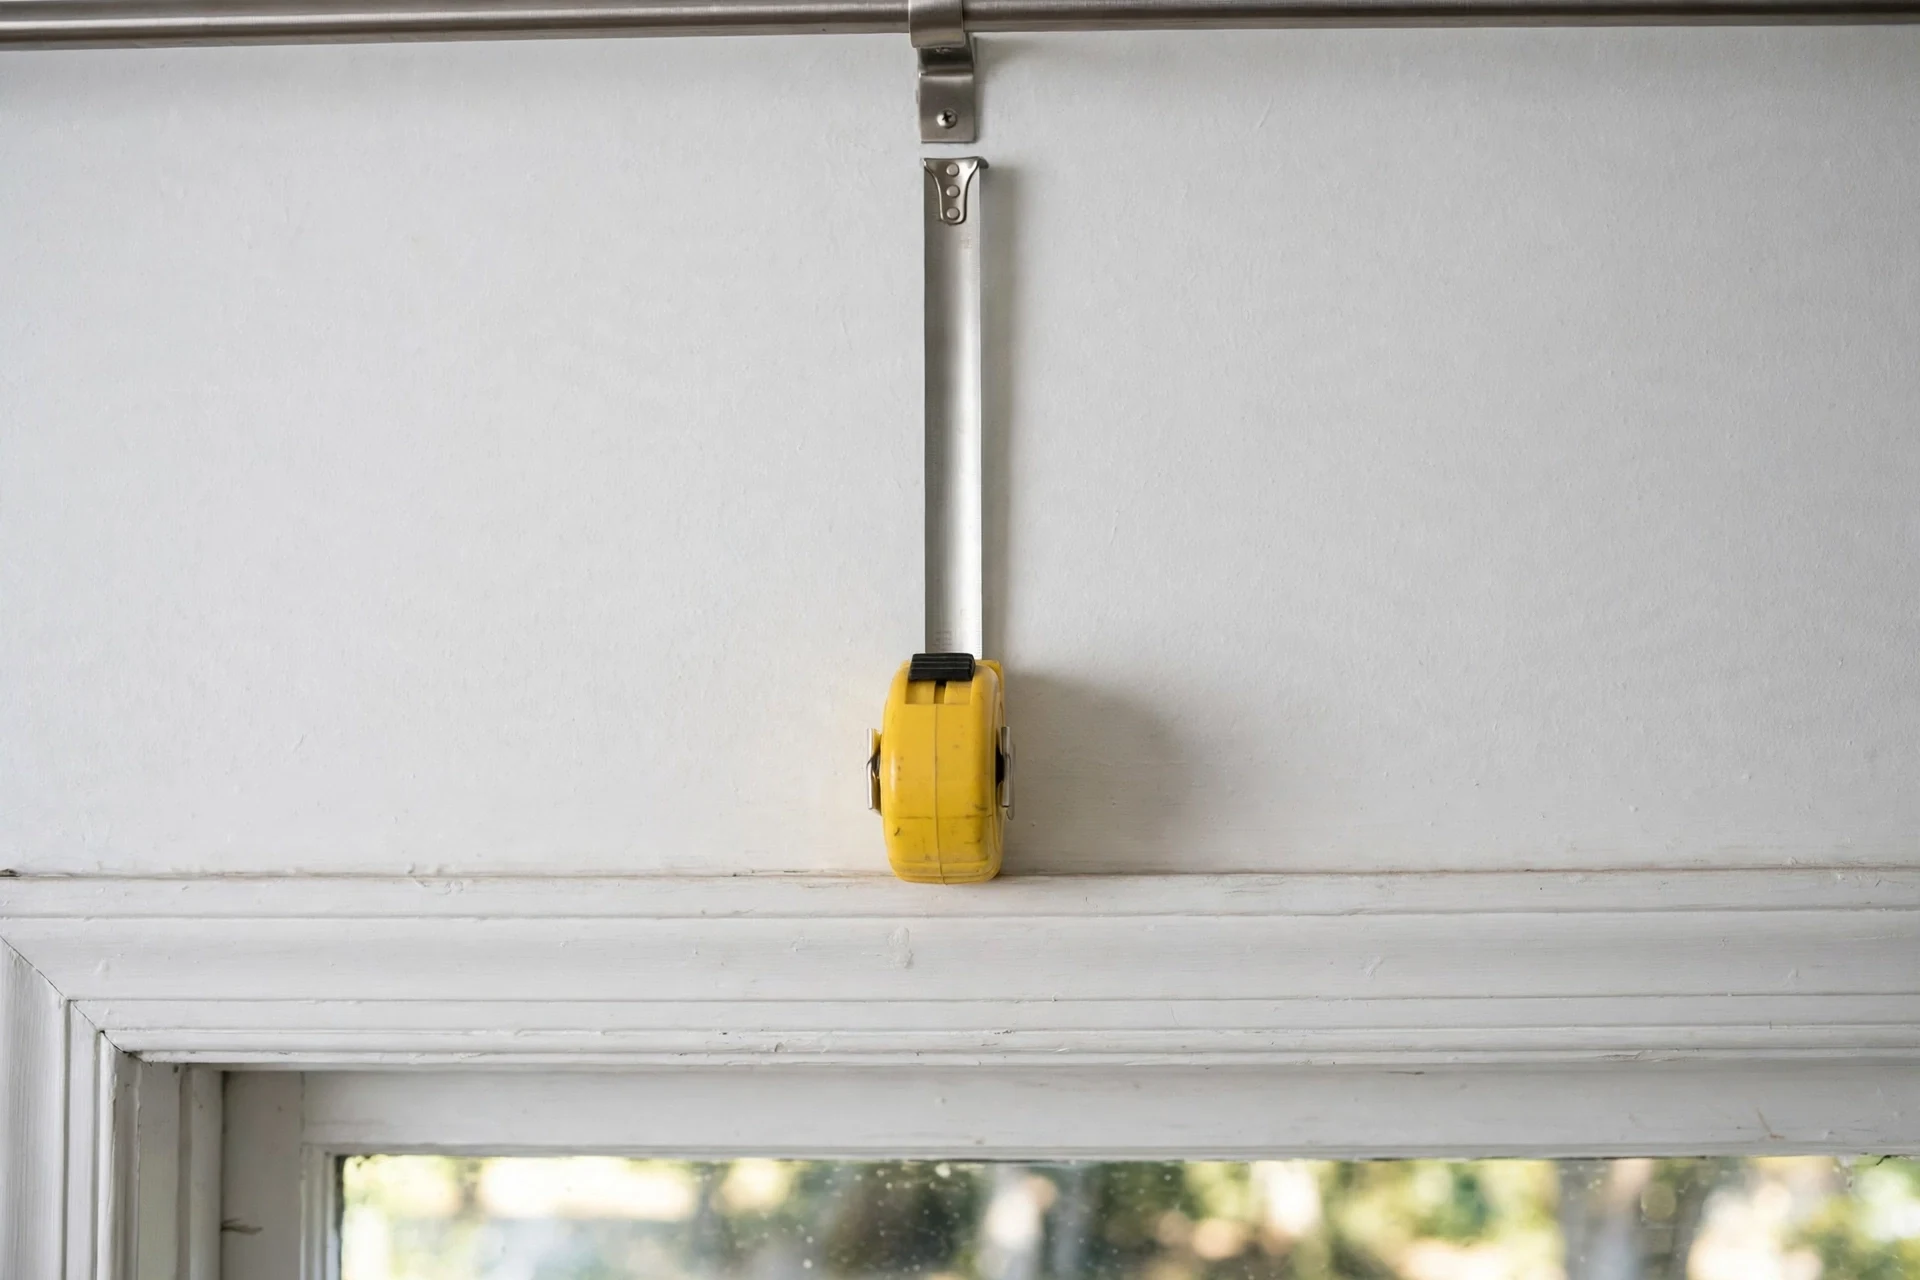
Set the rod 3 to 4 inches from the wall to the rod center, measured from the back plate to the curtain surface: rings and grommets need that clearance to travel without scraping the wall, and too close means rings grind the molding and rattle, while too far lets daylight in at the sides.
Grommets need clearance of their own: the grommet inner diameter must be at least 0.5 inches larger than the rod diameter, or the metal grommet scratches the rod finish and snags, while a narrow rod inside a wide grommet produces messy, collapsing folds.
Level the rod by marking the height on one side first, then carrying it across to the second bracket with a level, not with a tape measured up from the floor, because floors are rarely flat enough: even a quarter of an inch off is noticeable over a 72-inch rod, and a small tilt across 80 inches is visibly uneven. A laser level is the most accurate, and the full check is to hang the rod without curtains, level it, add the curtains, and re-check, because curtain weight can pull a rod down.
Fullness sets the stack as well: fullness runs in bands, standard 1.5 to 2 times the rod width, full 2 to 2.5 times, pinch pleat 2.5 to 3 times, and sheer 2 to 2.5 times, so for a 60-inch window at 2 times fullness the stack runs about 15 to 20 inches per panel when open, and the rod should extend at least as far as the stack width. The standard band is 1.5 to 2 times; the fuller bands suit a gathered look.
Keep all rods in one room at the same level, even for different-sized windows: do not mix heights, and align rods with the larger window height of 4 to 6 inches above the frame.
Match the header to the use: grommets slide easily, pleated headings suit formal rooms, and rod pockets suit stationary panels, so the header should fit how the curtains will be used. The range runs 6 to 12 inches past each side, and the difference is how much stack room the panels need: fuller panels and blackout setups want the wide end of the range, while a slim sheer is fine at the narrow end.
Measure the usable rod width without the finials, because finials are decorative end caps and they are not coverage. A finial typically adds 2 to 4 inches beyond where the rings stop, so check whether the length on the box is the overall length or the usable length before you buy. For the measuring steps, see How to Measure for Curtains.
Why high and wide makes a window look bigger
A rod hung right on the trim makes the window look squat and boxed in, with curtains that block the view and the light when you open them. A rod hung high and wide does the opposite.
When the rod sits 4 to 6 inches above the frame, the curtain extends above the frame, so the wall between the frame top and the curtain top becomes part of the window's visual area, and the window looks taller.
There is a practical reason as well: rings and grommets need vertical clearance to slide onto the rod, and when the rod sits too close to the frame, the top edge of the panel can catch on the molding and leave a gap that lets light leak at the top.
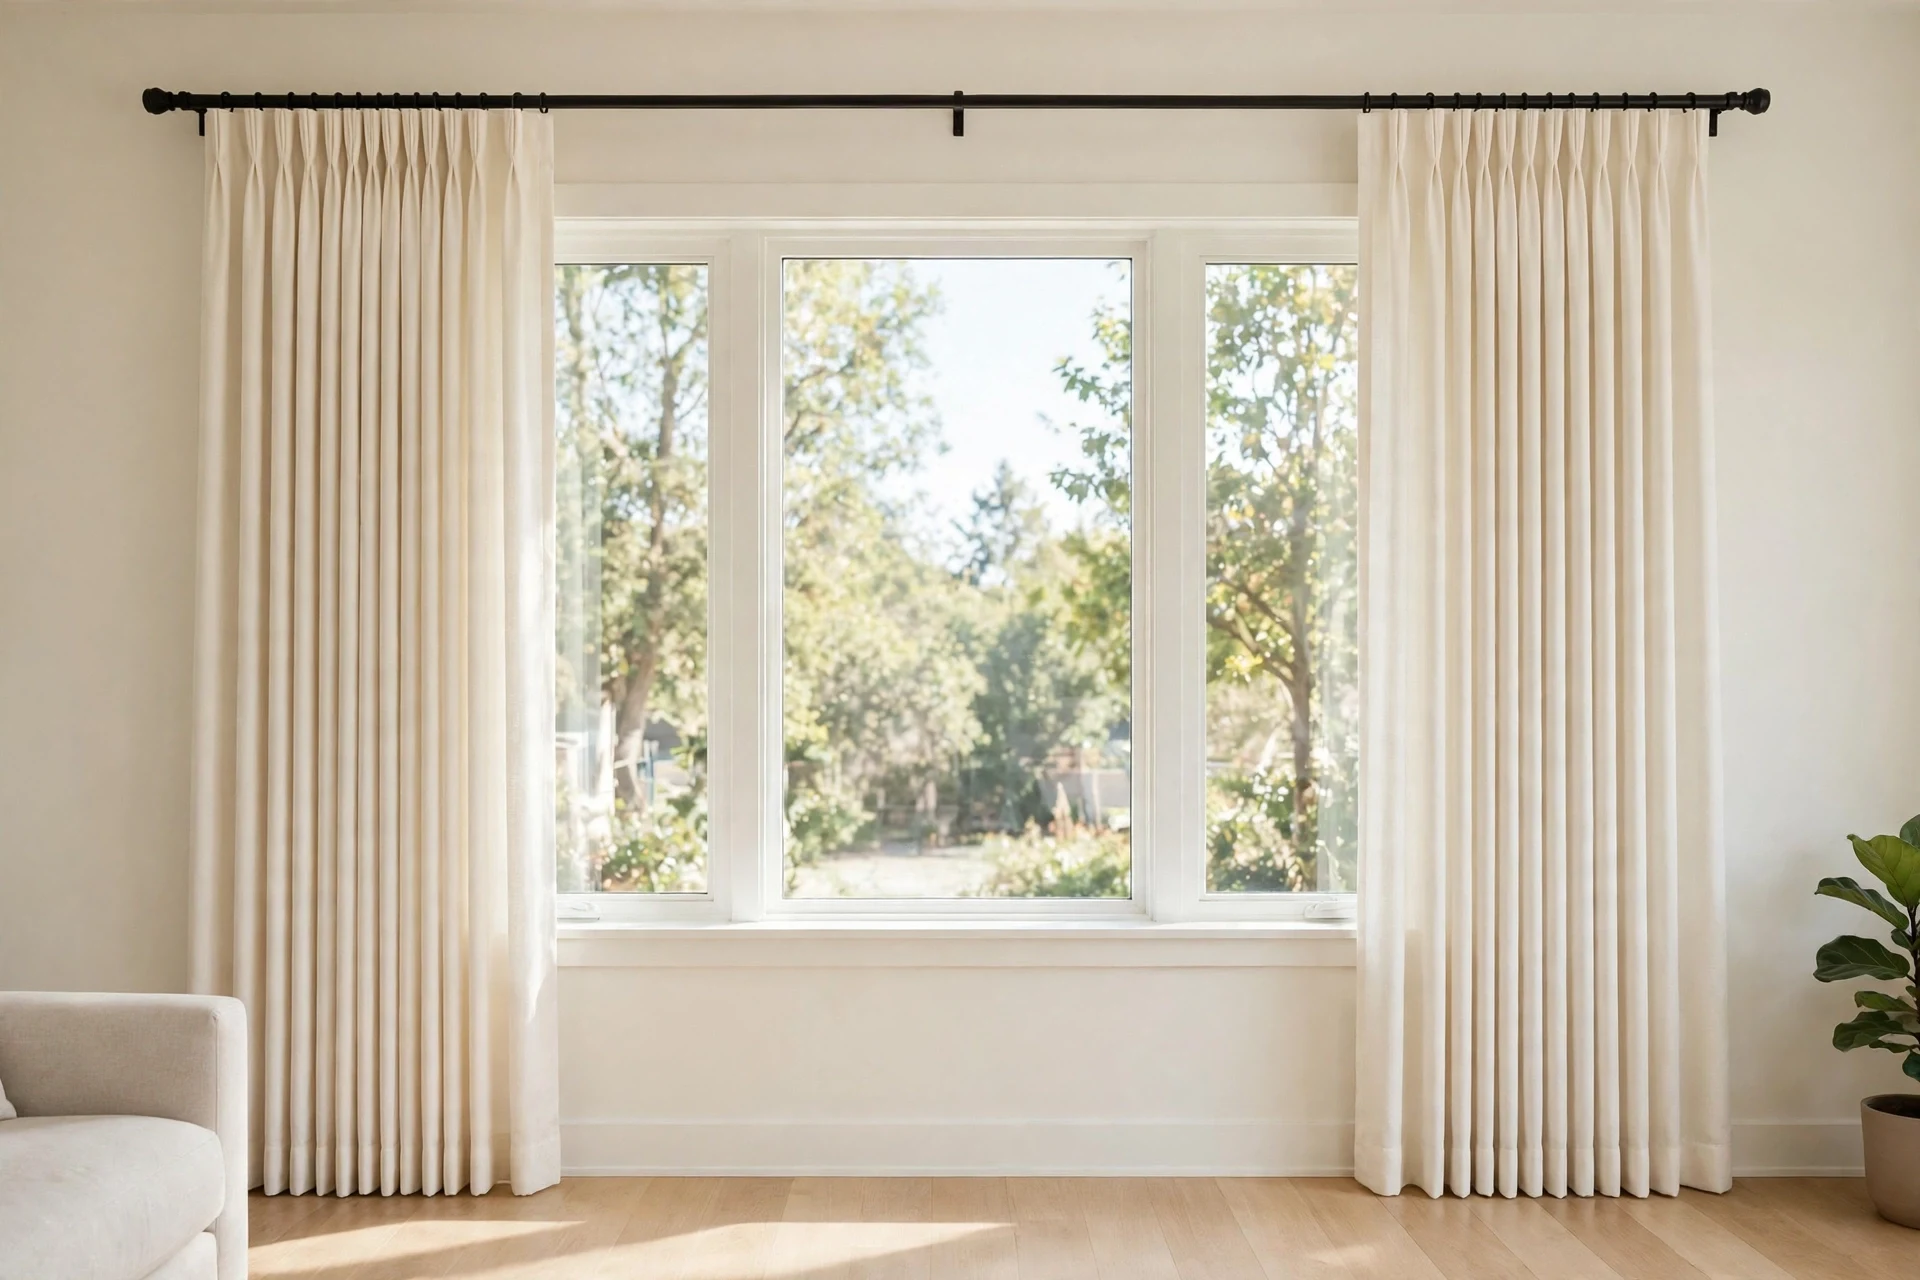
Width works the same way through the stack. When a panel opens, the fabric does not disappear: it stacks against the wall in a bundle roughly a third as wide as the panel itself. A rod cut to the width of the frame leaves nowhere for that stack to go except back over the glass. An 8 to 12 inch overhang on each side gives the stack a place to rest on the wall, so the glass stays clear, and it also helps when the curtains are closed, because the panel edges extend past the frame and seal the side gaps.
Correct placement also warms the room: height, side overlap, and returns create a semi-sealed air pocket between curtain and glass, reducing heat loss in winter and heat gain in summer, while a rod mounted too low lets the top of the curtain fold and part above the rod, letting warm air escape.
Stagers use the same trick before a listing goes live: they pull curtain rods and rehang them wider, because a room photographs smaller than it measures, and a wider rod with two new brackets is one of the cheaper fixes a seller can make.
Rod height for 8-foot ceilings
An 8-foot ceiling is the standard case, and the standard rule was written for it. Mount the rod 4 to 6 inches above the frame, and keep the panels floor length, because that combination already gives the maximum lift the room can use.
Four inches is the tight end, for a window that sits close to the ceiling or a room where the panels must be a stock length. Six inches is the generous end, for a room where you want the height on purpose and the panels can be ordered long enough to reach the floor.
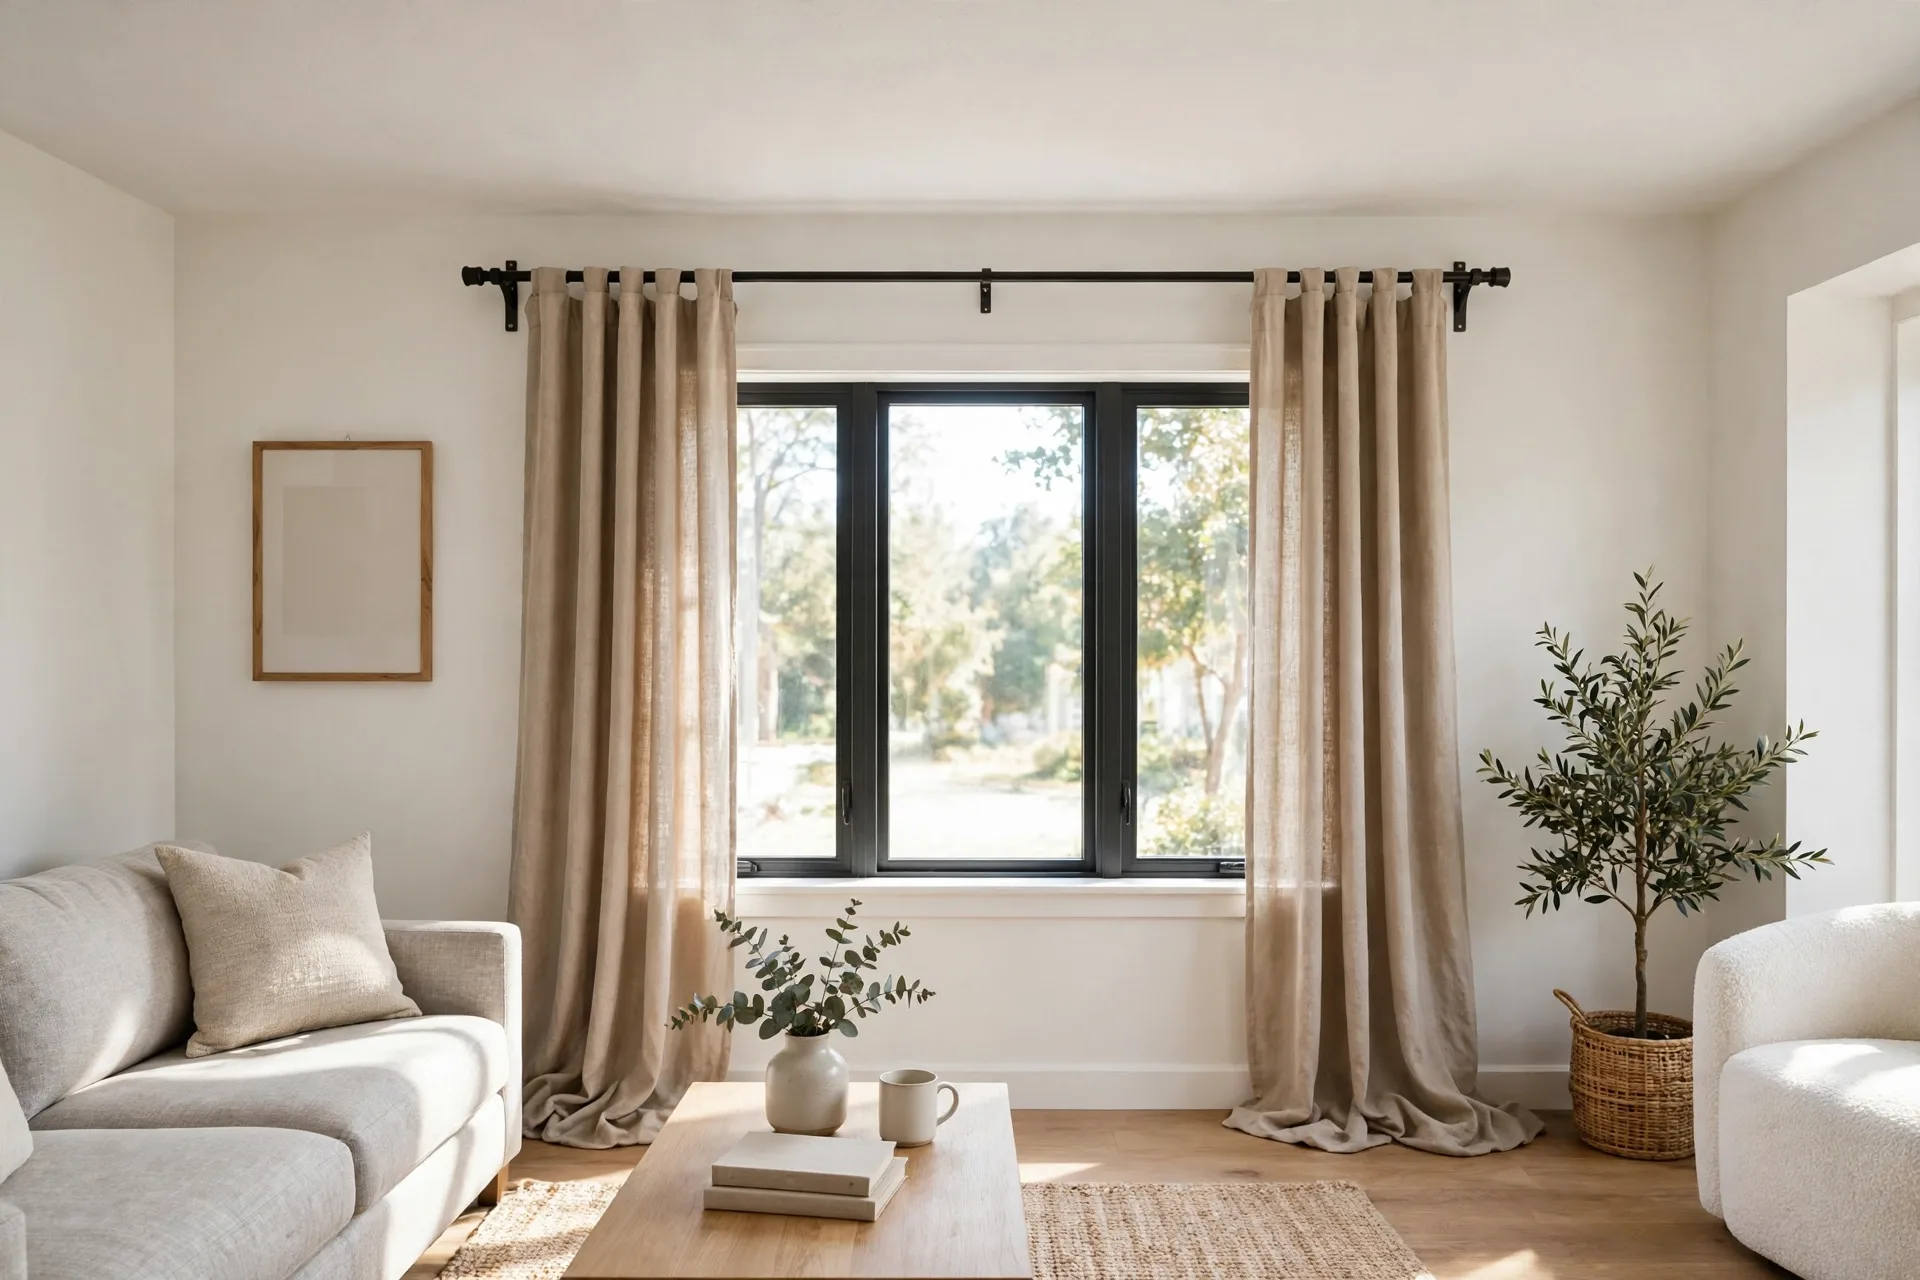
Do not go much past 6 inches on an 8-foot ceiling without a reason, because the gain flattens out and stock lengths stop fitting. Older advice sometimes caps the height at 8 inches above the frame, and past it the rod starts to look stranded on a tall wall.
Measure from the floor to the top of the frame before you choose, and work out the curtain length from the rod position, not the other way round. A stock 84 inch panel hangs from a rod roughly 84 inches above the floor, so decide the height first, then measure for length, and buy the panels after the rod position is set, never before.
Stock lengths map to rod heights in the same way: 96-inch panels suit a rod at 90 to 94 inches, which is floor length with a slight puddle in 8-foot rooms, and 108-inch panels suit a rod at 102 to 106 inches for tall ceilings or a dramatic puddle, with custom lengths needed past that. For the length table by room, see Curtain Sizes.
Rod height for 9-foot ceilings and taller rooms
A 9-foot ceiling, or anything taller, gives you room to push the rod higher, and the higher rod is what makes a tall room feel grand instead of empty. Mount the rod 8 to 10 inches above the frame on a 9-foot ceiling, and 10 to 12 inches or near the ceiling line on a 10-foot ceiling or taller.
The taller the ceiling, the more the rod can rise without looking stranded, because the wall above the window is long enough to carry the lift.
On a very tall wall, mount the rod near the ceiling line and let one continuous run of panels fall from the rod to the floor.
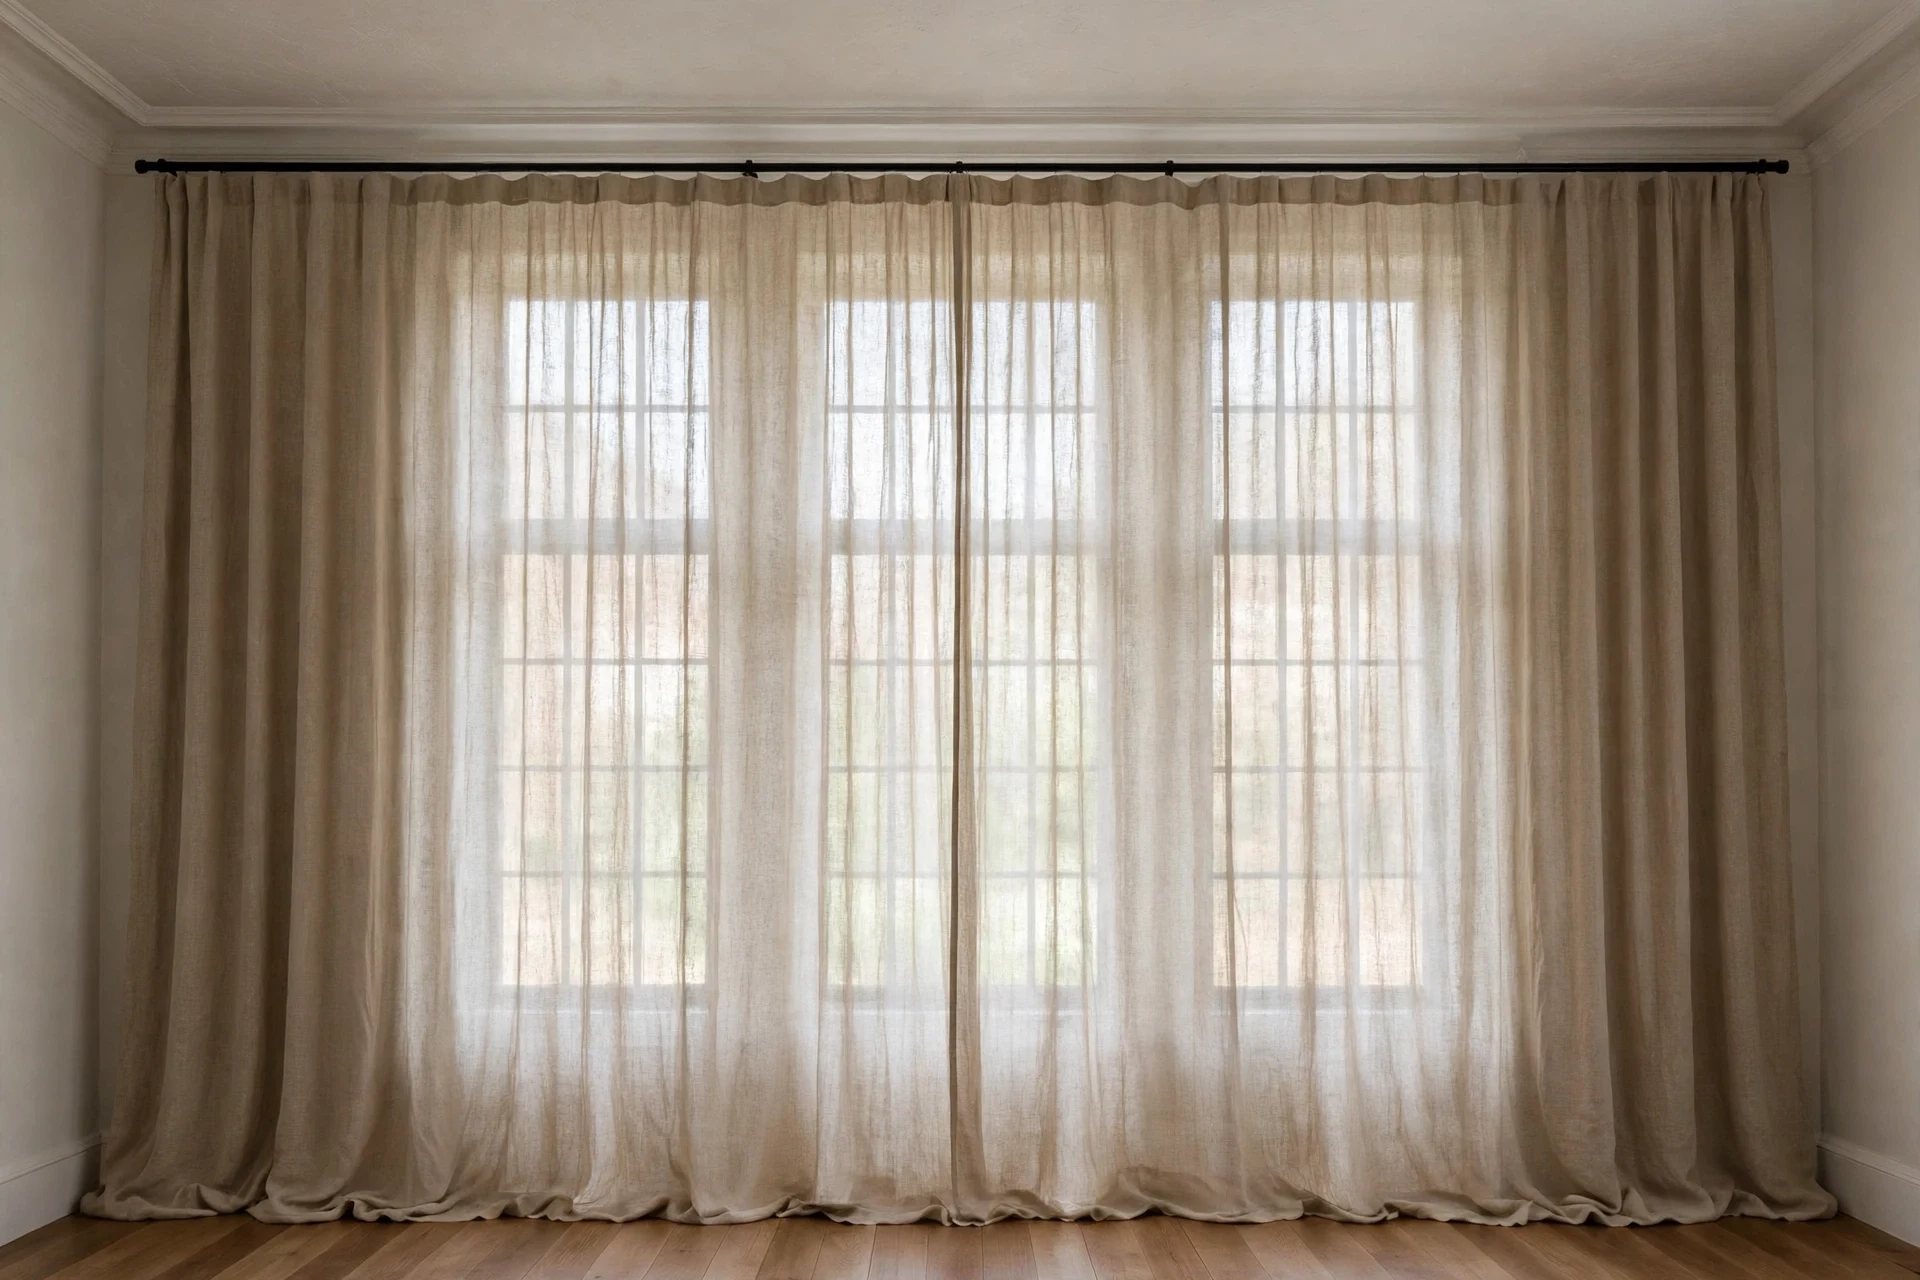
For vaulted or sloped ceilings, mount rods parallel to the slope for balance, and on a vaulted ceiling use the highest even point above the window. The trade-off is real: longer panels cost more, custom lengths are often needed past 108 inches, and the panels are heavier, so the rod and brackets must be rated for the load.
For a two-story window, do not break the vertical line. Use one continuous set of extra-long panels from above the top window all the way to the floor, rather than a separate rod for each story, because the break chops the wall into bands and undoes the height you were trying to gain. For the lined weight this height calls for, see Best Thermal Insulated Curtains.
Low ceilings and windows that nearly touch the ceiling
A low ceiling is the most common reason to bend the standard rule upward, not downward. In a room with a 7-foot or low 8-foot ceiling, mounting the rod close to the ceiling adds another couple of inches of perceived height, and it is often the right choice for a room where the window already sits close to the ceiling.
When the gap between the top of the frame and the ceiling is less than 12 inches, the standard 4 to 6 inch mount would put the rod almost against the ceiling or overlapping the molding.
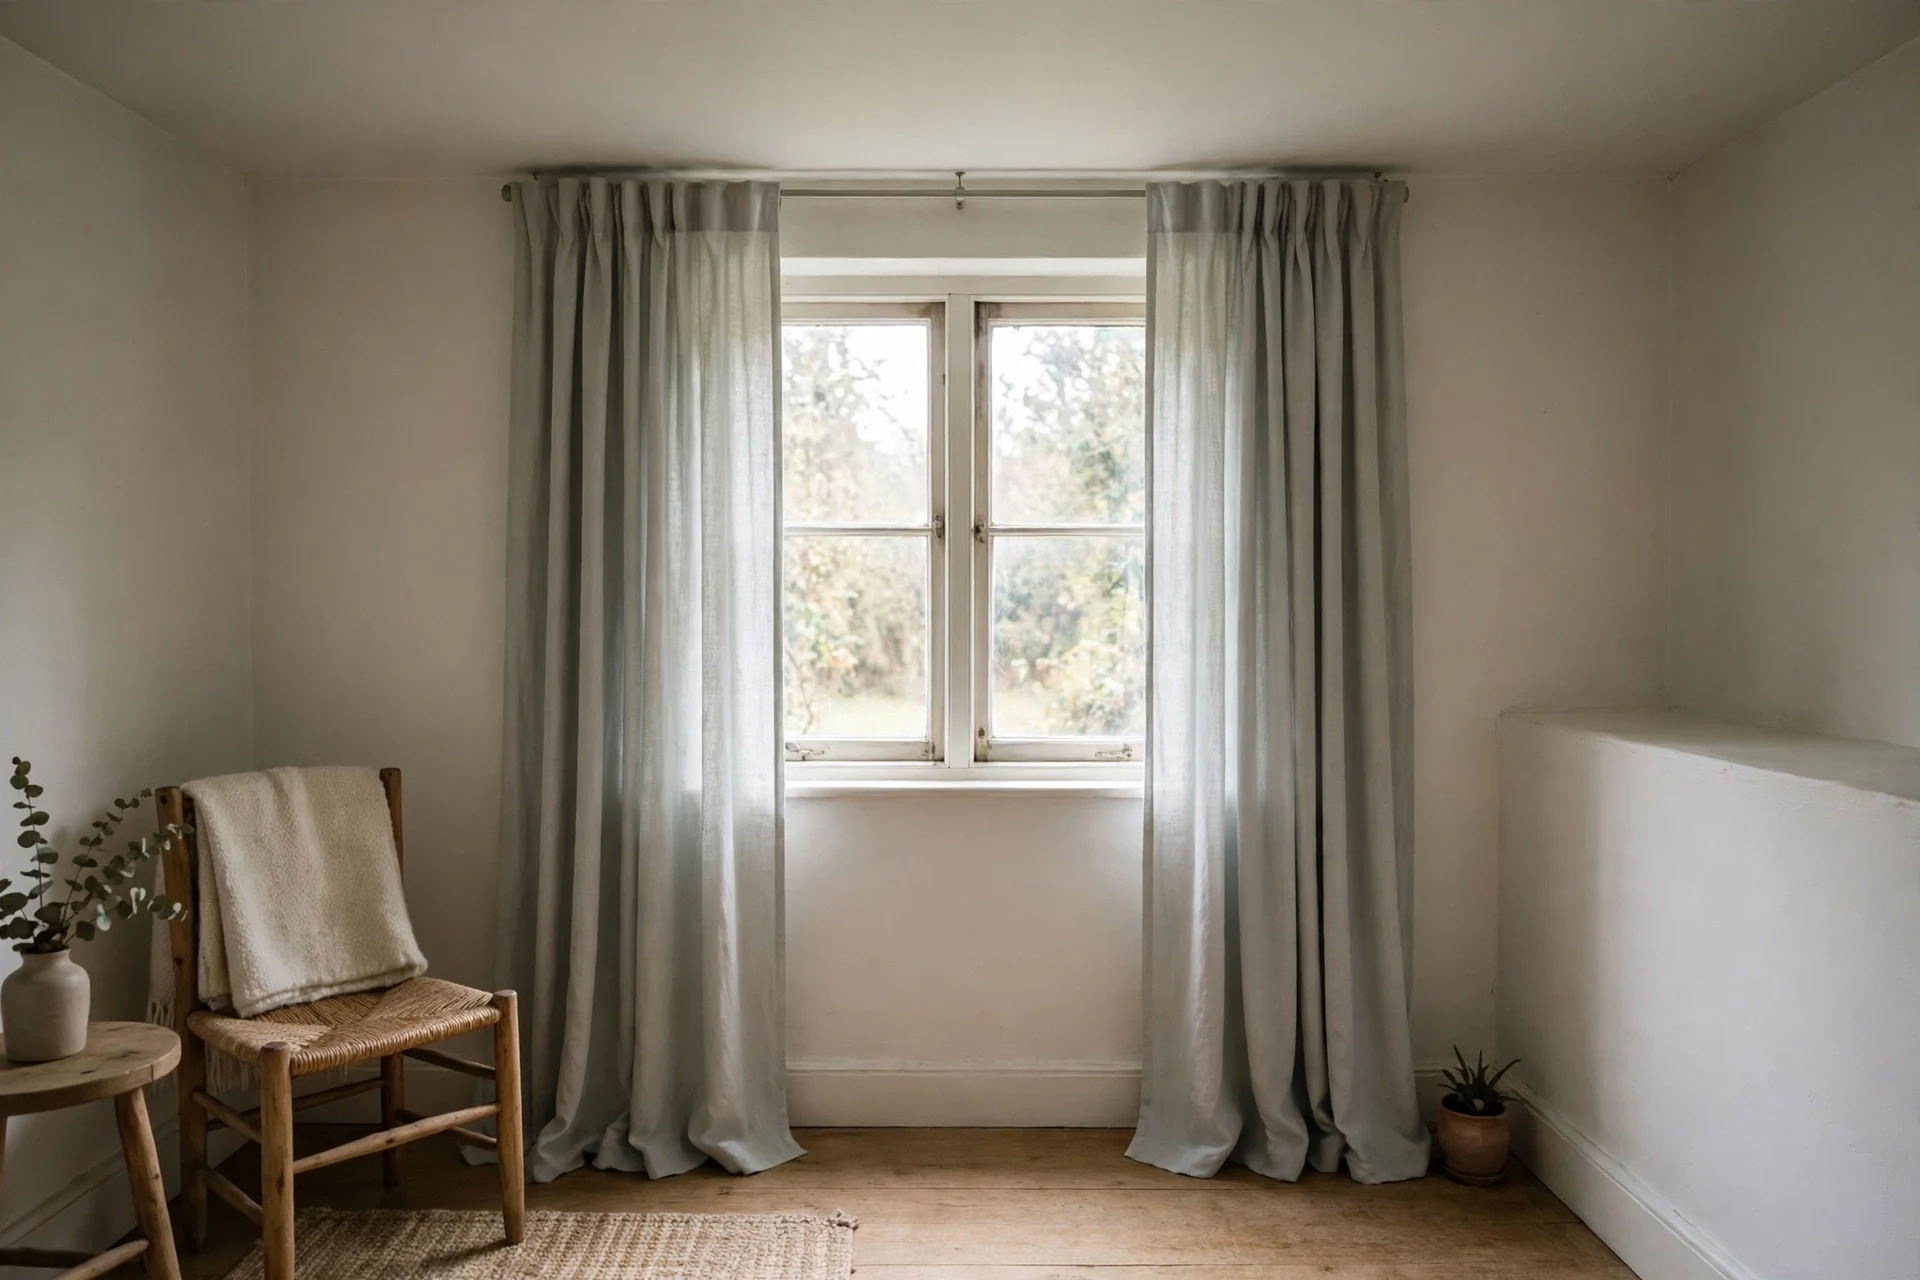
The usual adjustment is the halfway rule: mount the rod exactly halfway between the top of the frame and the ceiling. If the frame top sits 6 inches below the ceiling, the rod goes 3 inches above the frame.
Leave 2 to 3 inches of clearance below the ceiling for the bracket and the finial, so the rod can be fitted and the finial does not scrape the ceiling. A curtain that hangs with a large empty gap between the rod top and the ceiling reads as two disconnected bands on the wall, so on a low ceiling the rod should sit high enough that the gap above it stays small.
Ceiling-mounted curtains are another option where the ceiling is low: they enhance height, especially in low-ceilinged rooms, and mount just below crown molding where the room has it.
A no-drill or frame-mounted bracket sits closer to the window top, so length must be measured from the actual rod position: a tension rod mounted inside the frame typically sits at about the top of the frame, so a standard 84-inch curtain ends near the sill, and floor length needs a higher bracket or a longer panel. For rentals, the placement rules still apply, but bracket positions are limited by where the clamp can grip.
Crown molding, soffits, and the gap above the frame
Crown molding and soffits change where the rod can go, because they take up the wall the rod would otherwise use. The rule here is to work with the molding, not against it, and to measure its depth before you order brackets.
Where crown molding runs across the top of the wall, mount the rod just below it, with the bottom edge of the rod clearing the molding by at least an inch.
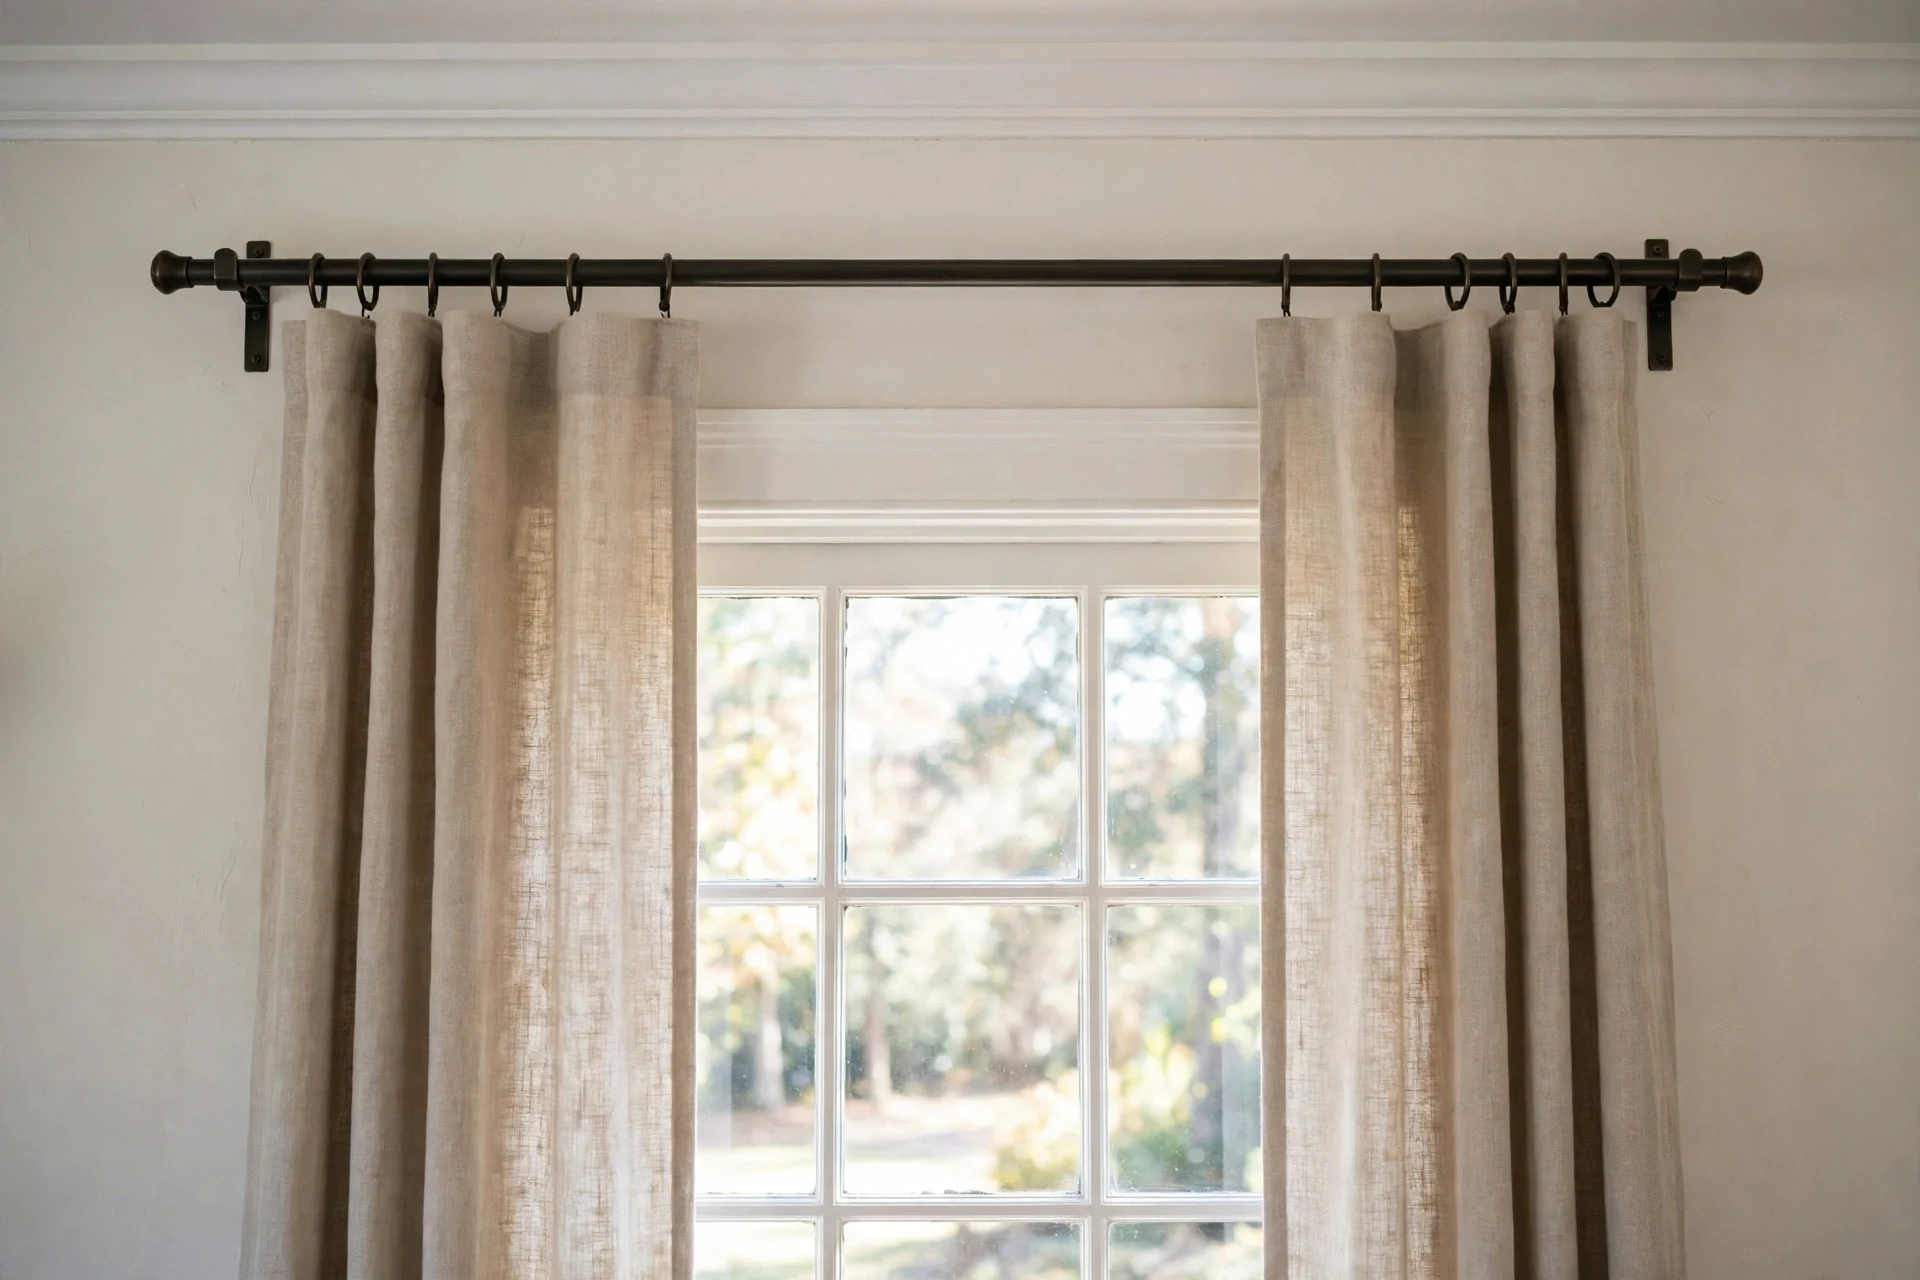
On a tall ceiling, the rod can also go above the molding, but that needs a bracket that projects far enough forward for the rod to clear the molding depth, so measure the molding depth before you order. A soffit, a lowered box section of ceiling above the window, works the same way: mount below it, or treat the soffit face as the ceiling line and use the halfway rule against it.
Finials need clearance too: leave room past the outer bracket so the finial does not hit an adjacent wall or the molding on the side. Brackets belong about 4 to 6 inches in from each rod end, and where the molding is deep, choose a bracket with a longer projection, so the rings and the fabric clear the molding when the panels slide.
Double rods need their own spacing: front and back rods sit 5 to 6 inches apart so both curtains move freely, and the brackets must be tall enough to keep the front rod rings clear of the back curtain, though no standard figure is published for that inner gap, so set it by eye against the fabric you own.
Finials add weight too: crystal finials add significant mass that the outer brackets must carry, so mounting the outer brackets 4 to 6 inches from the ends places them under the decorated tip and reduces leverage, while a large finial in a tight corner may need reduced overhang so it does not hit the wall when curtains open.
Projection is a balance: a bracket that projects too far creates a gap between wall and curtain that lets light in from the sides, while a bracket that projects too little makes the fabric scrape against the wall, so projection should match the rod diameter and let the rod draw without rubbing or binding.
Where the window opens, open a crank-out casement fully before marking the outer bracket: a crank handle needs room to swing without hitting curtain fabric or a bracket every time the window opens, and marking on a closed window and finding the handle catches the panel later is the most common redo in this job. Casement windows open outward, so the curtain must sit fully outside the sash swing, and a 4-inch wall clearance is safer than 3 inches; where the handle is low, the curtain may catch it when closing.
Radiators, desks, and window seats below the glass
What sits below the window decides the length, and the length feeds back into the height, because a rod hung high calls for a long panel, and a long panel cannot end at a radiator or a desk. Check below the window before you set the rod height.
A radiator under the window needs fabric kept clear of the heat, so the panel must end at the sill or at the apron, the trim strip just below the sill.
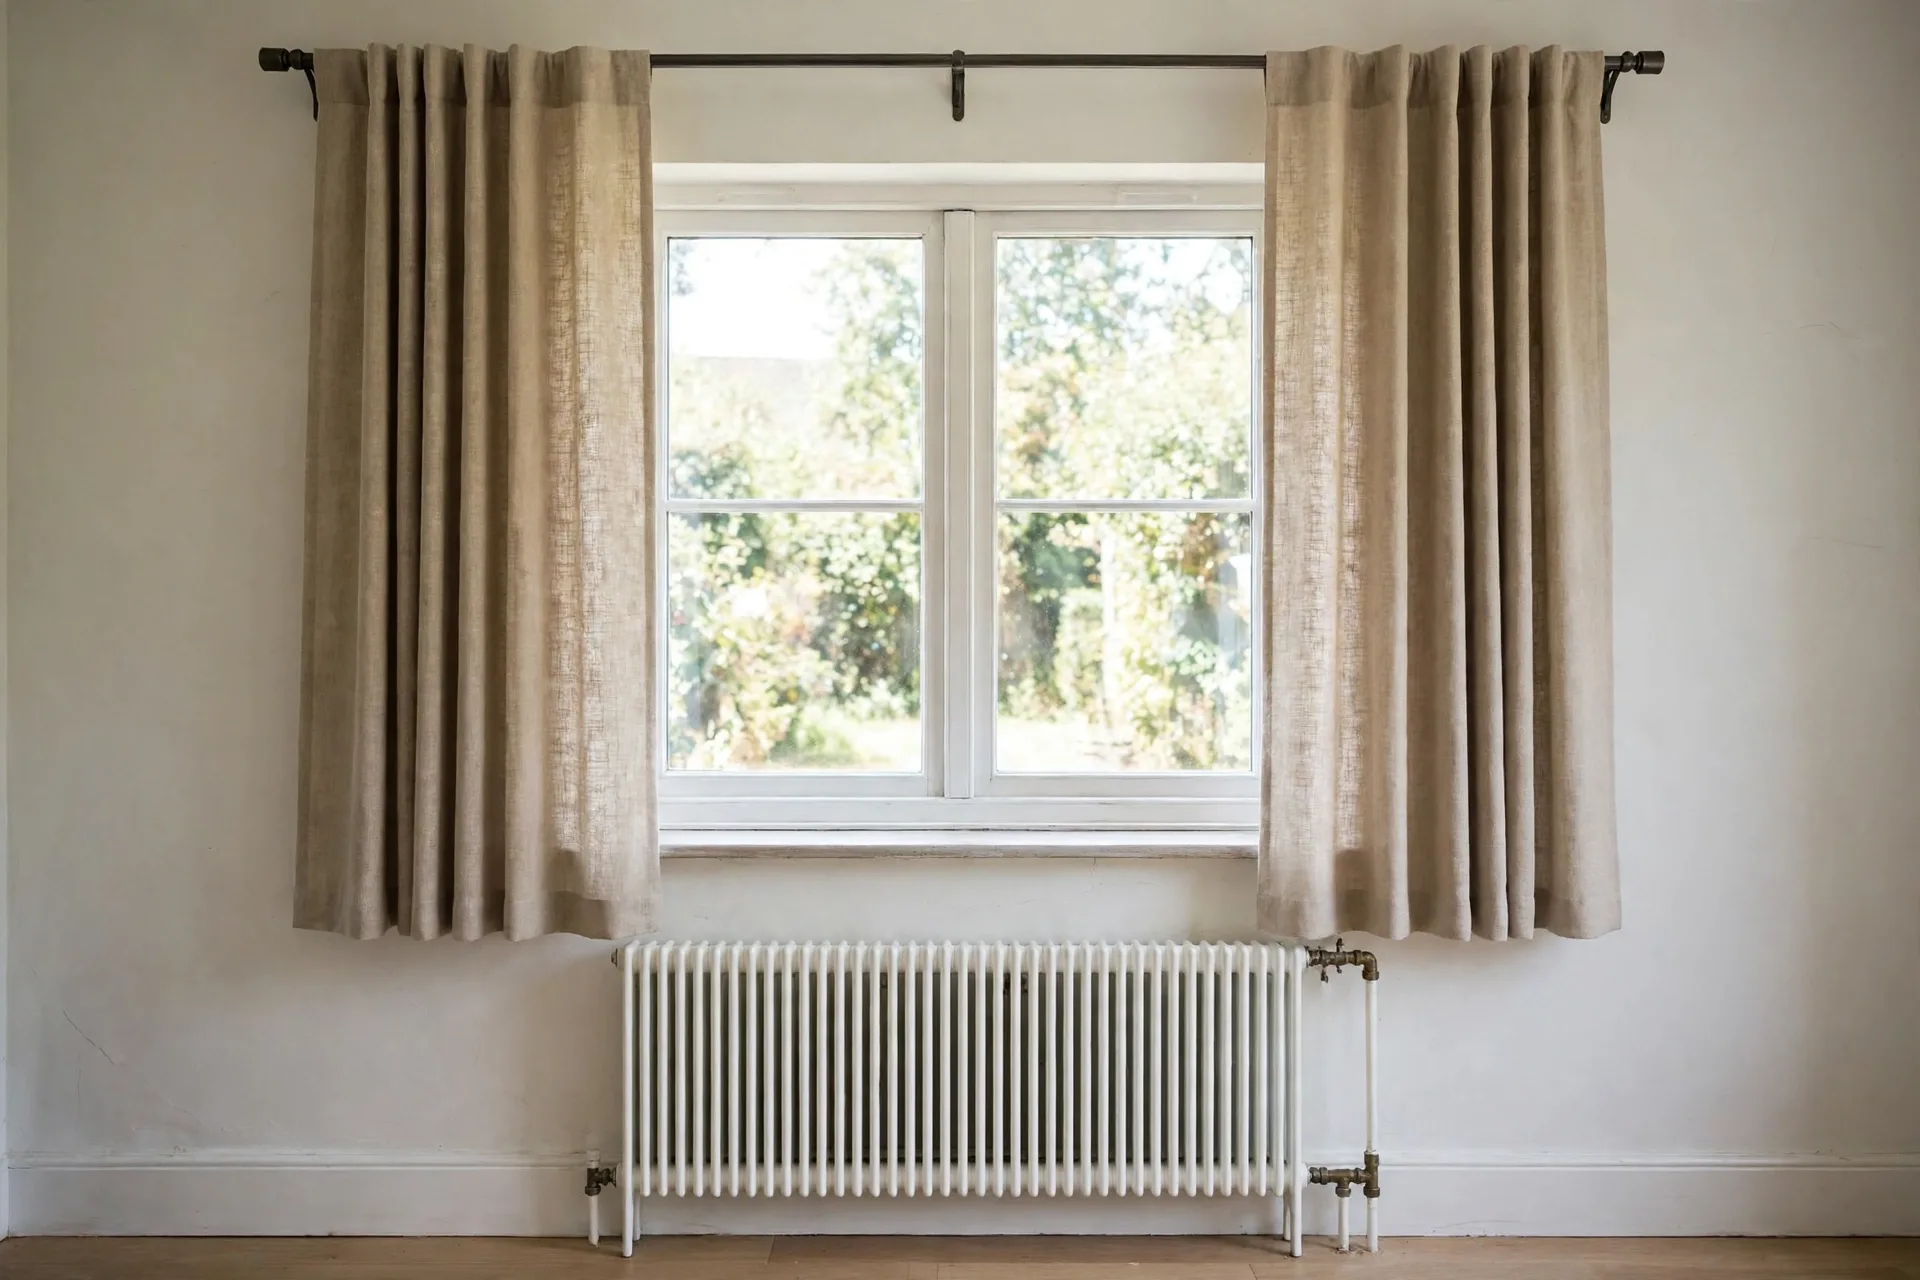
That short length then sets the rod height: there is no point hanging the rod near the ceiling for a sill-length panel, because the short panel under a high rod leaves a bare band of wall that reads as unfinished. Keep the rod at the standard 4 to 6 inches for a sill-length treatment.
Kitchens take a lower mount of their own: mount rods 2 to 4 inches above the frame in kitchens, with curtains stopping at the sill or 2 inches below, skip floor-length panels where they are a fire hazard and stain easily, and choose lightweight, easy-to-clean fabrics.
A desk under the window wants the same treatment, because a panel that pools on a desk blocks the work surface. A window seat wants the panel to end at the seat or just above it, so the seat stays usable. A deep sill worth showing wants a sill-length panel too.
Cafe curtains suit kitchens and bathrooms where a full panel is too much: a cafe rod across the middle of the window with tier panels covers the lower half, blocks the direct line of sight, and lets light in from the top. In each case, the obstruction sets the length, and the length sets the height, which is why the check below the window comes before the rod goes up. For the room where this comes up most, see Best Curtains for Living Room.
Small windows: go higher and wider on purpose
A small window is the case where the standard rule is a floor, not a ceiling. Hang the rod 6 to 8 inches above a small frame, and run it 8 to 12 inches past each side, which is the wide end of the width range.
The extra height draws the eye up past the small frame, and the extra width gives the panels somewhere to stack off the glass, so the small window is not half covered by its own curtains when they are open.
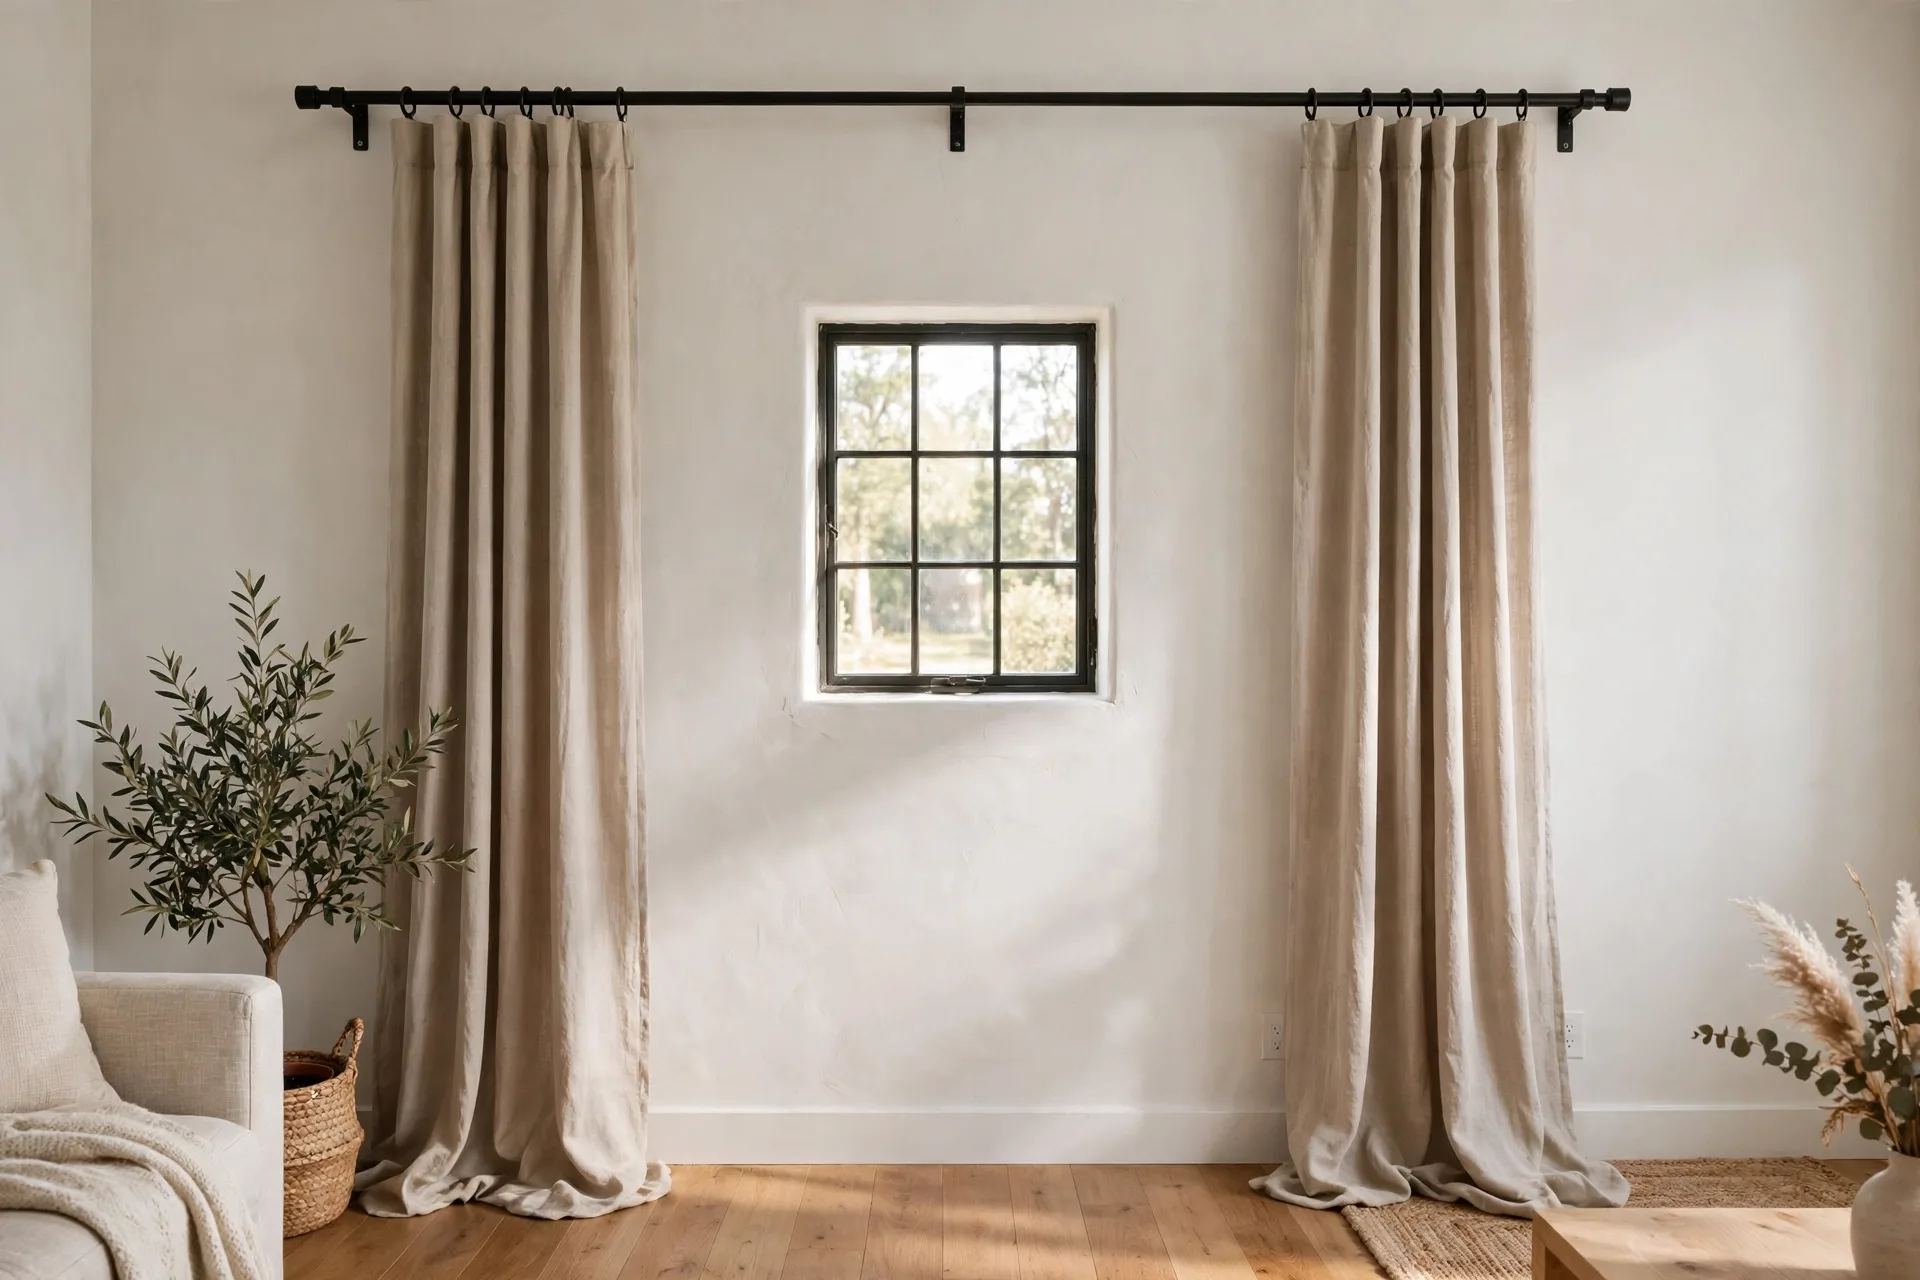
A small window dressed high and wide looks like a larger window, because the frame the eye sees is the curtain frame, not the glass frame.
One case runs the other way: small windows in bathrooms and kitchens usually look best with a rod hung inside the frame, so this guide's higher and wider rule suits living and bedroom windows, while a small bathroom or kitchen window suits the inside-frame mount.
Watch the wall space beside a small window, because a window set close to a corner may not have 8 to 12 inches of wall on one side. Take as much clearance as the wall allows on the tight side and keep the full range on the open side, rather than splitting the shortfall evenly, because a rod pushed hard against a corner still lets the panel stack partly clear of the glass, which reads better than a centered rod with no room on either side.
Corner windows take two rods joined by a corner connector, with each rod measured to the corner point plus overhang on the wall side, brackets 4 to 6 inches from the connector on each wall, and both rods at the identical height, since a mismatch of even about 1/8 inch is visible at the junction. Extend more than 6 inches on the corner side so the panel stacks against the adjacent wall without crushing the finial, and use a small finial or flush-mount bracket where the corner is tight.
Wide windows and sliding doors: width does the work
On a wide window, width does more work than height, because the problem is the stack, not the lift. A wide window needs a long rod so the open panels can rest on the wall instead of the glass, and the wider the window, the more stack room each side needs.
Extend the rod 8 to 12 inches past each side on a wide window, and lean toward the wide end where the panels are full or heavy, because a full panel stacks wider than a slim one.
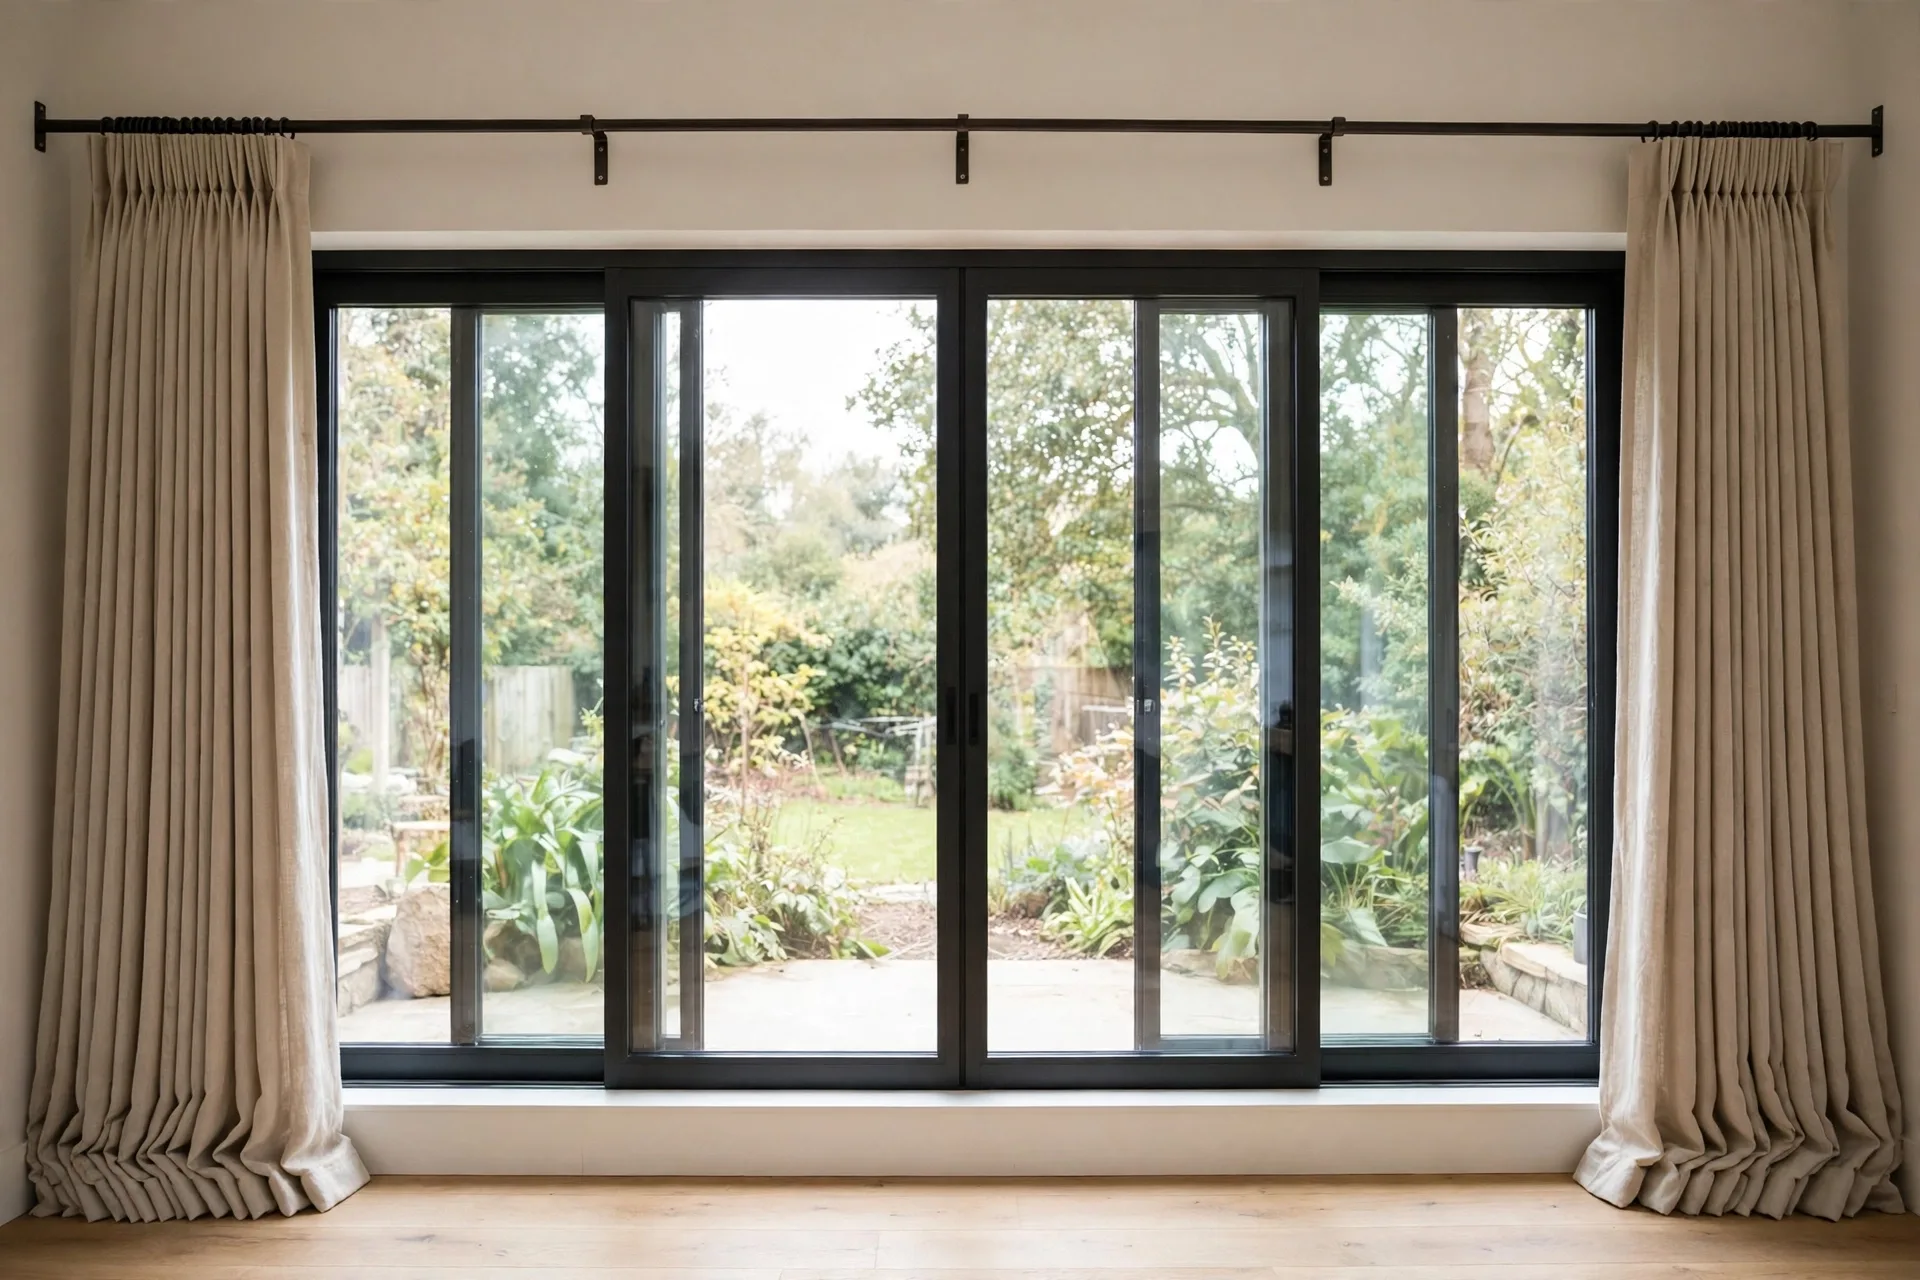
On a window wider than about 6 feet, push the overhang to 12 to 15 inches per side. A wide rod also needs a center support for any span over about 36 inches, so the rod does not bow between the ends.
Returns close the side gaps a wide rod leaves: a return is the section of rod that turns back toward the wall at each end, and it blocks light and visually anchors the treatment, because without a return a person outside can see through the angled gap between the curtain edge and the window. Return depth should match the rod-to-wall distance, typically 3 to 4 inches.
Bracket spacing follows the span: keep no gap between brackets over about 36 inches, and add a center bracket once the rod passes about 36 inches — one center bracket for spans of 37 to 72 inches, and two center brackets for spans of 73 to 108 inches.
Anchors follow the wall type and the loaded weight: drywall needs toggle bolts or heavy-duty drywall anchors rated 50 to 75 lbs, blackout and thermal drapes need anchors supporting at least 20 to 30 lbs per bracket, masonry needs a masonry bit and sleeve anchors, and wood studs take a direct screw. Size a hollow-wall anchor to the loaded weight of rod, rings, and panels together, not the fabric alone, because a light plastic anchor rated for a picture frame is undersized for a rod carrying two full panels. Tap the wall to find studs, which give a denser sound than the hollow wall between them.
French doors take their own mount: hang the rod 6 inches above the door frame or align it with the casing top, whichever is higher, with overhang of at least 10 to 12 inches each side so the curtain holds fully to the side when the doors open, one panel per door, and sill or apron length rather than floor length on operating doors, because floor-length curtains brush the floor as doors move.
A telescoping rod needs engagement at the joint: the slide section must be engaged by at least 2 to 3 inches on each side of the bracket to avoid sagging, and a telescoping rod sags at the sliding joint where the bracket does not sit near the overlap, so for a telescoping iron rod the center bracket should sit at the midpoint of the overlap, which is the weakest point.
Rod material matters too: aluminum in a 1-inch tube cuts easily; iron weighs 2 to 3 times as much as an equivalent aluminum rod and has less springback, so once it sags it stays sagged; PVC-wrapped rods expand and contract with temperature, so leave a gap of about 1/8 to 3/16 inch in the telescoping section, use rings matching or exceeding the rod diameter so they do not scratch the wrapper, and choose a bracket with a smooth inner surface; metal expands and contracts slightly, so leave a small amount of lateral play at the finial.
Multiple windows on one wall take one of two treatments: where the gaps are small, run one long rod across all windows with panels only on the far ends for a unified look, or single panels in the narrow gaps for a rhythmic look, and where the gaps are large, around a fireplace or art, give each window its own rod and pair so they frame the central feature.
Slider overhang runs 8 to 12 inches per side, with 6 inches safer where the door is used often.
A sliding door wants the same treatment with more of it: run the rod well past both sides of the door, so the panels stack clear of the glass when the door is in use, and use two panels rather than one, so each side carries its own stack. Check the handle clearance before you mark the brackets, because a door handle that catches the panel every time the door opens is the most common redo on this job. For the bedroom where width matters for darkness, see Best Curtains for Bedroom.
How rod height sets your curtain length
Rod height sets curtain length, and the order matters: set the rod first, then measure for length, because a length ordered before the rod goes up is a guess.
With stock panels, the order runs the other way round: decide the curtain length first, then mount the rod so the panel hem lands where you want it, because a stock length cannot be cut to fit the rod. Measure from the bottom of the rod or track down to the floor, not from the ceiling and not from the top of the rings.
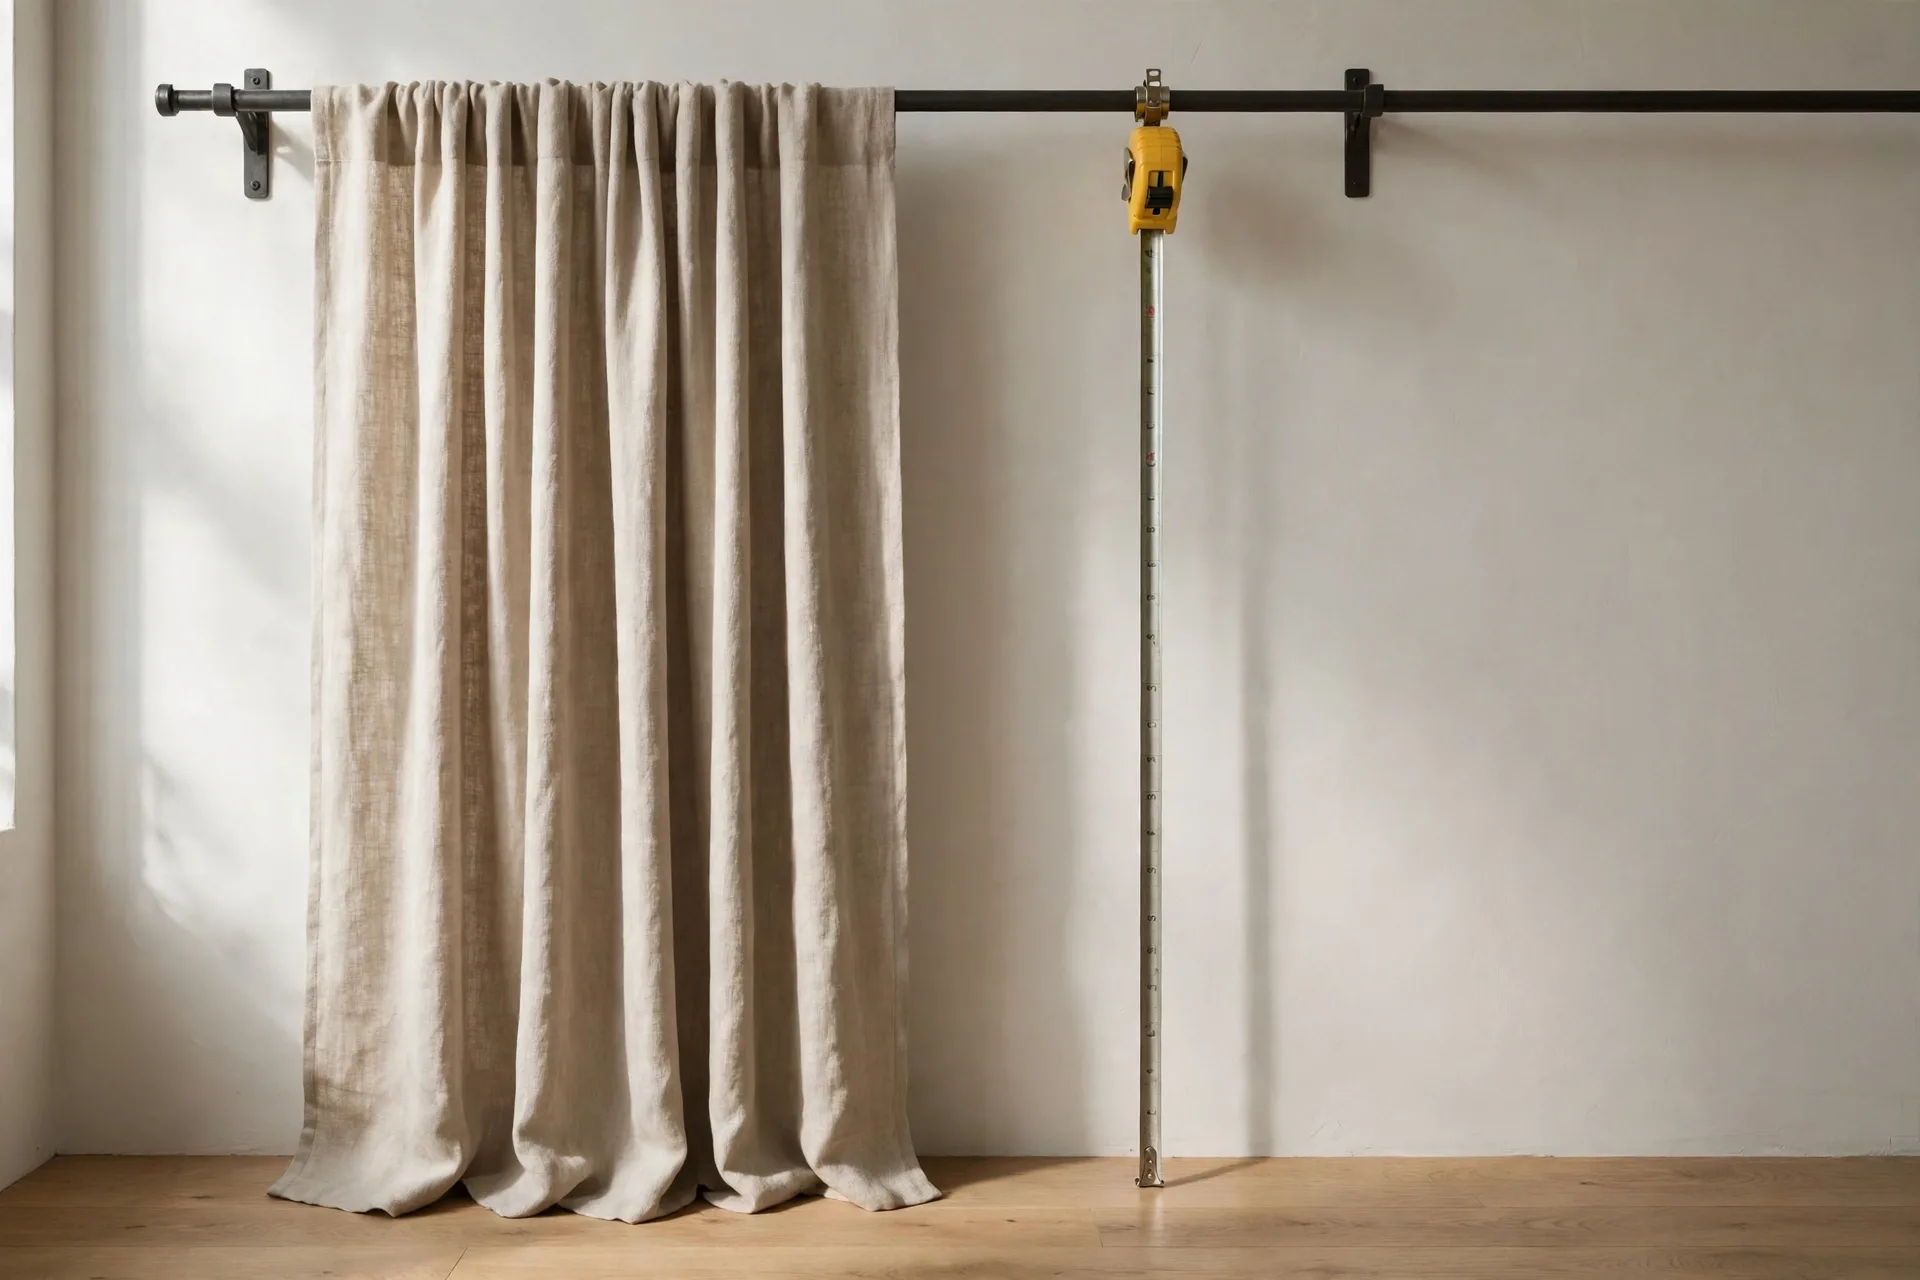
The header and the hardware decide where the fabric actually starts, so a panel hung from rings will hang lower than a panel hung from the rod itself, and that difference has to be in the measurement.
Standard rings place the top of the curtain roughly 1.5 to 2 inches below the rod center, so with a rod 5 inches above the frame, the curtain top actually sits about 3 inches above the frame top, and that drop belongs in the measurement. A panel has three lengths that read as intentional: sill, apron, or floor.
Sill length hangs 0.5 inches above the sill, apron length extends 4 inches below the sill, and puddle length adds 1 to 6 inches of fabric on the floor, with 3 inches a stylish puddle and 4 to 6 inches a glamorous one, while a curtain that stops 2 inches short of the floor, or between any of those points, reads as a mistake. Within floor length, the finishes are a hover about half an inch to an inch above the floor, a break exactly at the floor, or a puddle a few inches onto the floor, and the hover is the practical default for rooms with pets, children, or uneven floors.
Finished panels can vary by roughly 1 to 2 inches because of fabric behavior and normal manufacturing tolerance, so if you want a precise hover, order slightly long rather than coming up short. For the full measuring walkthrough, see How to Measure for Curtains, and for the hanging steps, see How to Hang Curtains.
Rod height and width by ceiling and window type
The table below pulls the rule and its adjustments into one place. Use it as a starting point, then adjust for your wall.
| Ceiling or window type | Rod height above frame | Rod width past each side | Notes |
|---|---|---|---|
| Standard window, 8 ft ceiling | 4 to 6 in | 8 to 12 in | The everyday default; balanced and easy |
| Window close to ceiling, less than 12 in gap | Halfway to the ceiling | 8 to 12 in | Go higher rather than lower; keep 2 to 3 in ceiling clearance |
| Tall ceiling, 9 to 10+ ft | 8 to 12 in or near ceiling | 8 to 12 in | Pair with extra-long panels; biggest lift effect |
| Low ceiling | Near the ceiling line | 8 to 12 in | Small gap above the rod; floor-length panels carry the lift |
| Crown molding or soffit | Just below the molding | 8 to 12 in | Measure molding depth; bracket must clear it |
| Radiator, desk, or seat below | 4 to 6 in | 8 to 12 in | Length ends at the sill or apron; height stays standard |
| Small or narrow window | 6 to 8 in | 8 to 12 in | Extra height and width make a small window read larger |
| Wide window or sliding door | 4 to 8 in | 8 to 12 in, up to 15 in for full panels | Width does the work; center support past 60 in |
| Bedroom, blackout priority | 4 to 8 in | Toward 12 in | More overlap cuts side light gaps |
Where the table and your wall disagree, the wall wins: keep as much of the rule as the wall allows, rather than abandoning it entirely.
Frequently asked questions about curtain rod height and width
Most rod placement questions come down to the two numbers, the ceiling, and what sits below the window.
How high should I hang a curtain rod on an 8-foot ceiling?
Mount the rod 4 to 6 inches above the window frame. If the top of the window is within 12 inches of the ceiling, hang the rod halfway to the ceiling, for a taller look. Measure from the top of the outer casing, not from the glass, up to the underside of the rod.
How far past the window should the curtain rod extend?
Extend the rod 8 to 12 inches beyond the frame on each side, which makes the total rod 16 to 24 inches longer than the window width. The wider end suits full panels and blackout setups, because the open panels need more room to stack clear of the glass and the closed panels need more overlap to cut side light gaps.
Does hanging curtains higher really make the room look taller?
Yes. A higher rod draws the eye up the wall, so the ceiling reads as higher and the window looks larger. The trade-off is that a higher rod needs longer panels, so decide the height first, then measure for length from the bottom of the rod to the floor.
Where do I measure from for curtain length?
Measure from the bottom of the rod or track down to the floor, accounting for rings if your panels hang from rings. Do not measure from the ceiling unless that is where the track actually sits. The header and hardware decide where the fabric starts, so the bottom of the rod is the reference point.
What if my window is close to a corner and I cannot get 8 to 12 inches on that side?
Take as much clearance as the wall allows on the tight side and keep the full range on the open side, rather than splitting the shortfall evenly between the two. A rod pushed hard against a corner still lets the panel stack partly clear of the glass, which reads better than a centered rod with no room on either side to stack fabric at all.
Should the rod be centered on the window or on the wall?
Center it on the window frame, with equal overhang added on each side, not on the surrounding wall. Walls are often asymmetrical because of an adjacent door or corner, and a rod centered on the wall instead of the glass will hang visibly off-center relative to the window itself, which is the one thing a rod position is judged against.
How high should the rod go above a radiator?
The radiator sets the length, not the height. A panel over a radiator must end at the sill or the apron so the fabric stays clear of the heat, and with a short panel there is no point hanging the rod near the ceiling. Keep the rod at the standard 4 to 6 inches above the frame for a sill-length treatment.
For other curtain help, see Best Window Curtains.
This guide is research-based curation: we compared maker specifications, published reviews, and current prices. Read how we choose.